
Uppercut Toy Design Pt 2
It’s been about a week since I last wrote a blog post and this project has started and progressed significantly although it has become a pain in the butt. I decided to finally tackle the challenge of taking the guts out of a Hexbug RC Battlebot toy and designing an RC Uppercut toy around the useful bits.
Conveniently I found a lot of broken/for parts Hexbug Battlebots toys for really cheap on eBay and I pounced on those. A few days later two Witch Doctors, a Tombstone, and a Minotaur showed up at my house.
For those unfamiliar with these toys, they are literally the coolest toys in the world. They come with a small remote with a toggle button that activates the weapon, and 4 buttons to control planar movement. All the robots so far have 3 DOF like Uppercut.
I already had Witch Doctor and Tombstone toys but I didn’t want to destroy mine and so I found the “for parts” ones to experiment with. Originally I was just planning on reusing only Witch Doctor parts but I found that Tombstone’s PCB and weapon drive system were more suitable after looking at it closer.
After shucking one Tombstone and Witch Doctor, these are the useful parts I decided to design around. For reference, I will only be using 3d-printed parts and the parts I take from the toys, no additional bolts even.
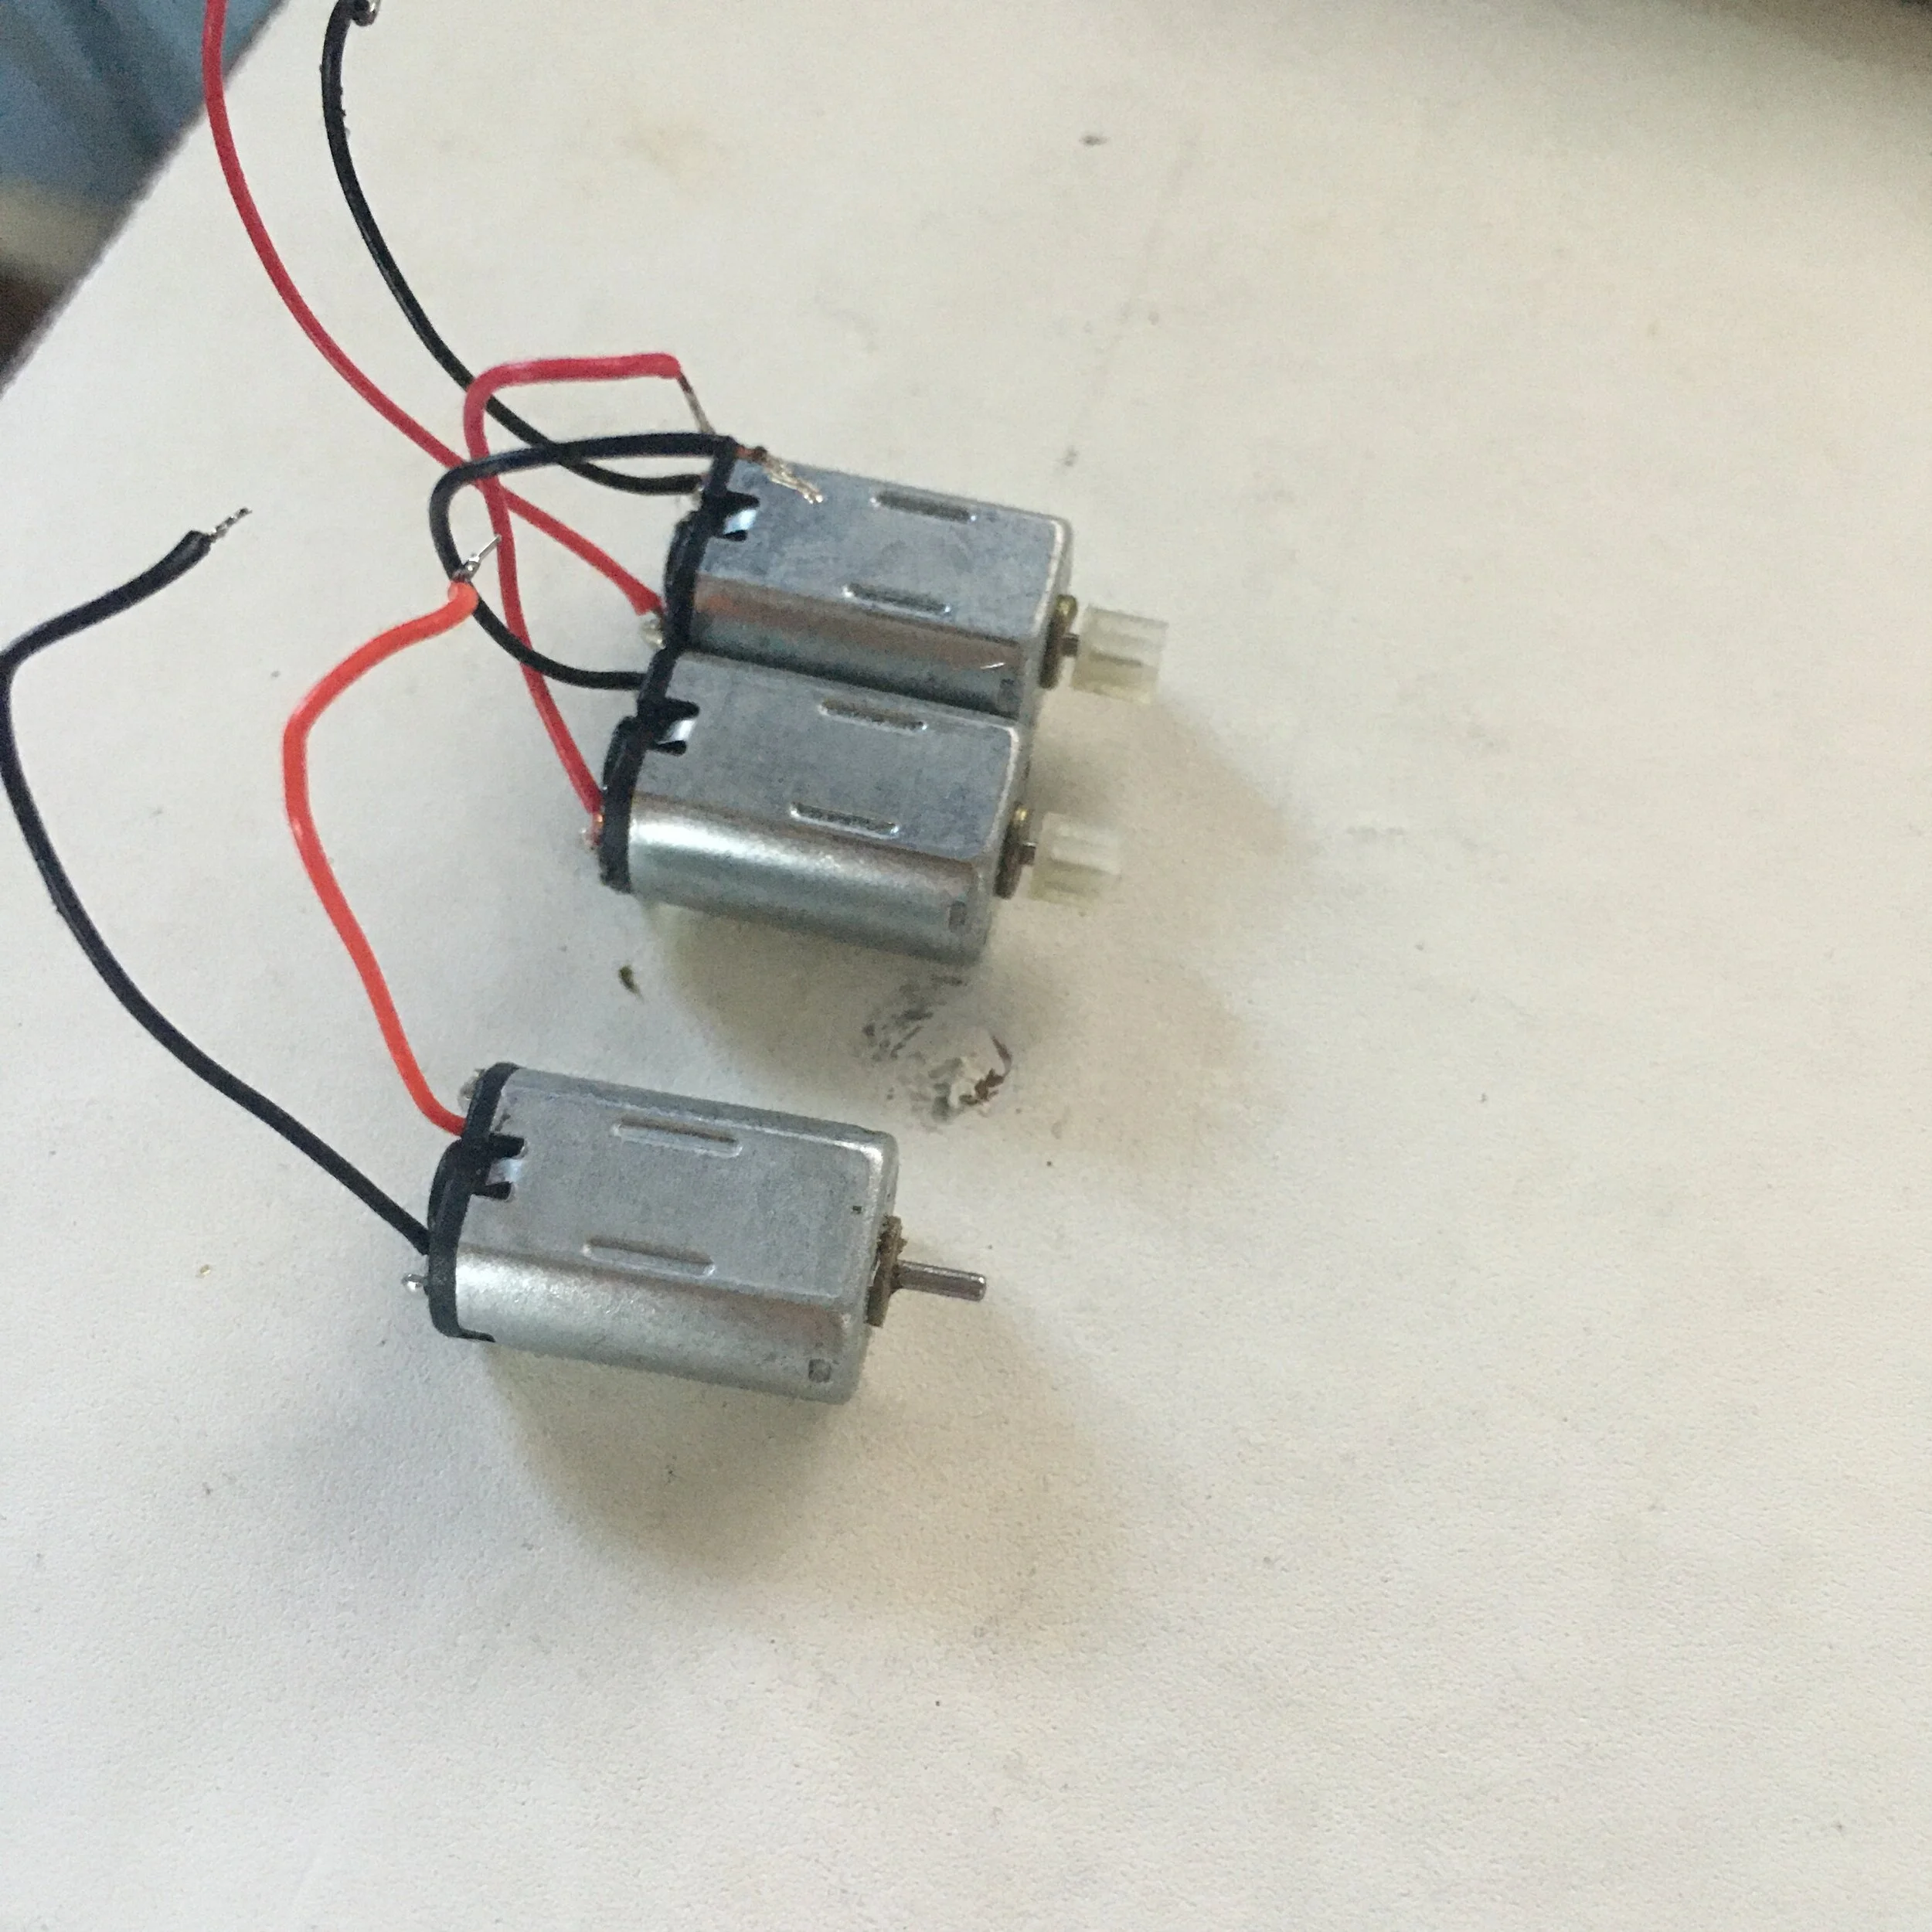
First the motors from Witch Doctor. I easily pulled the pinion gear off the weapon motor because I planned on using a belt.
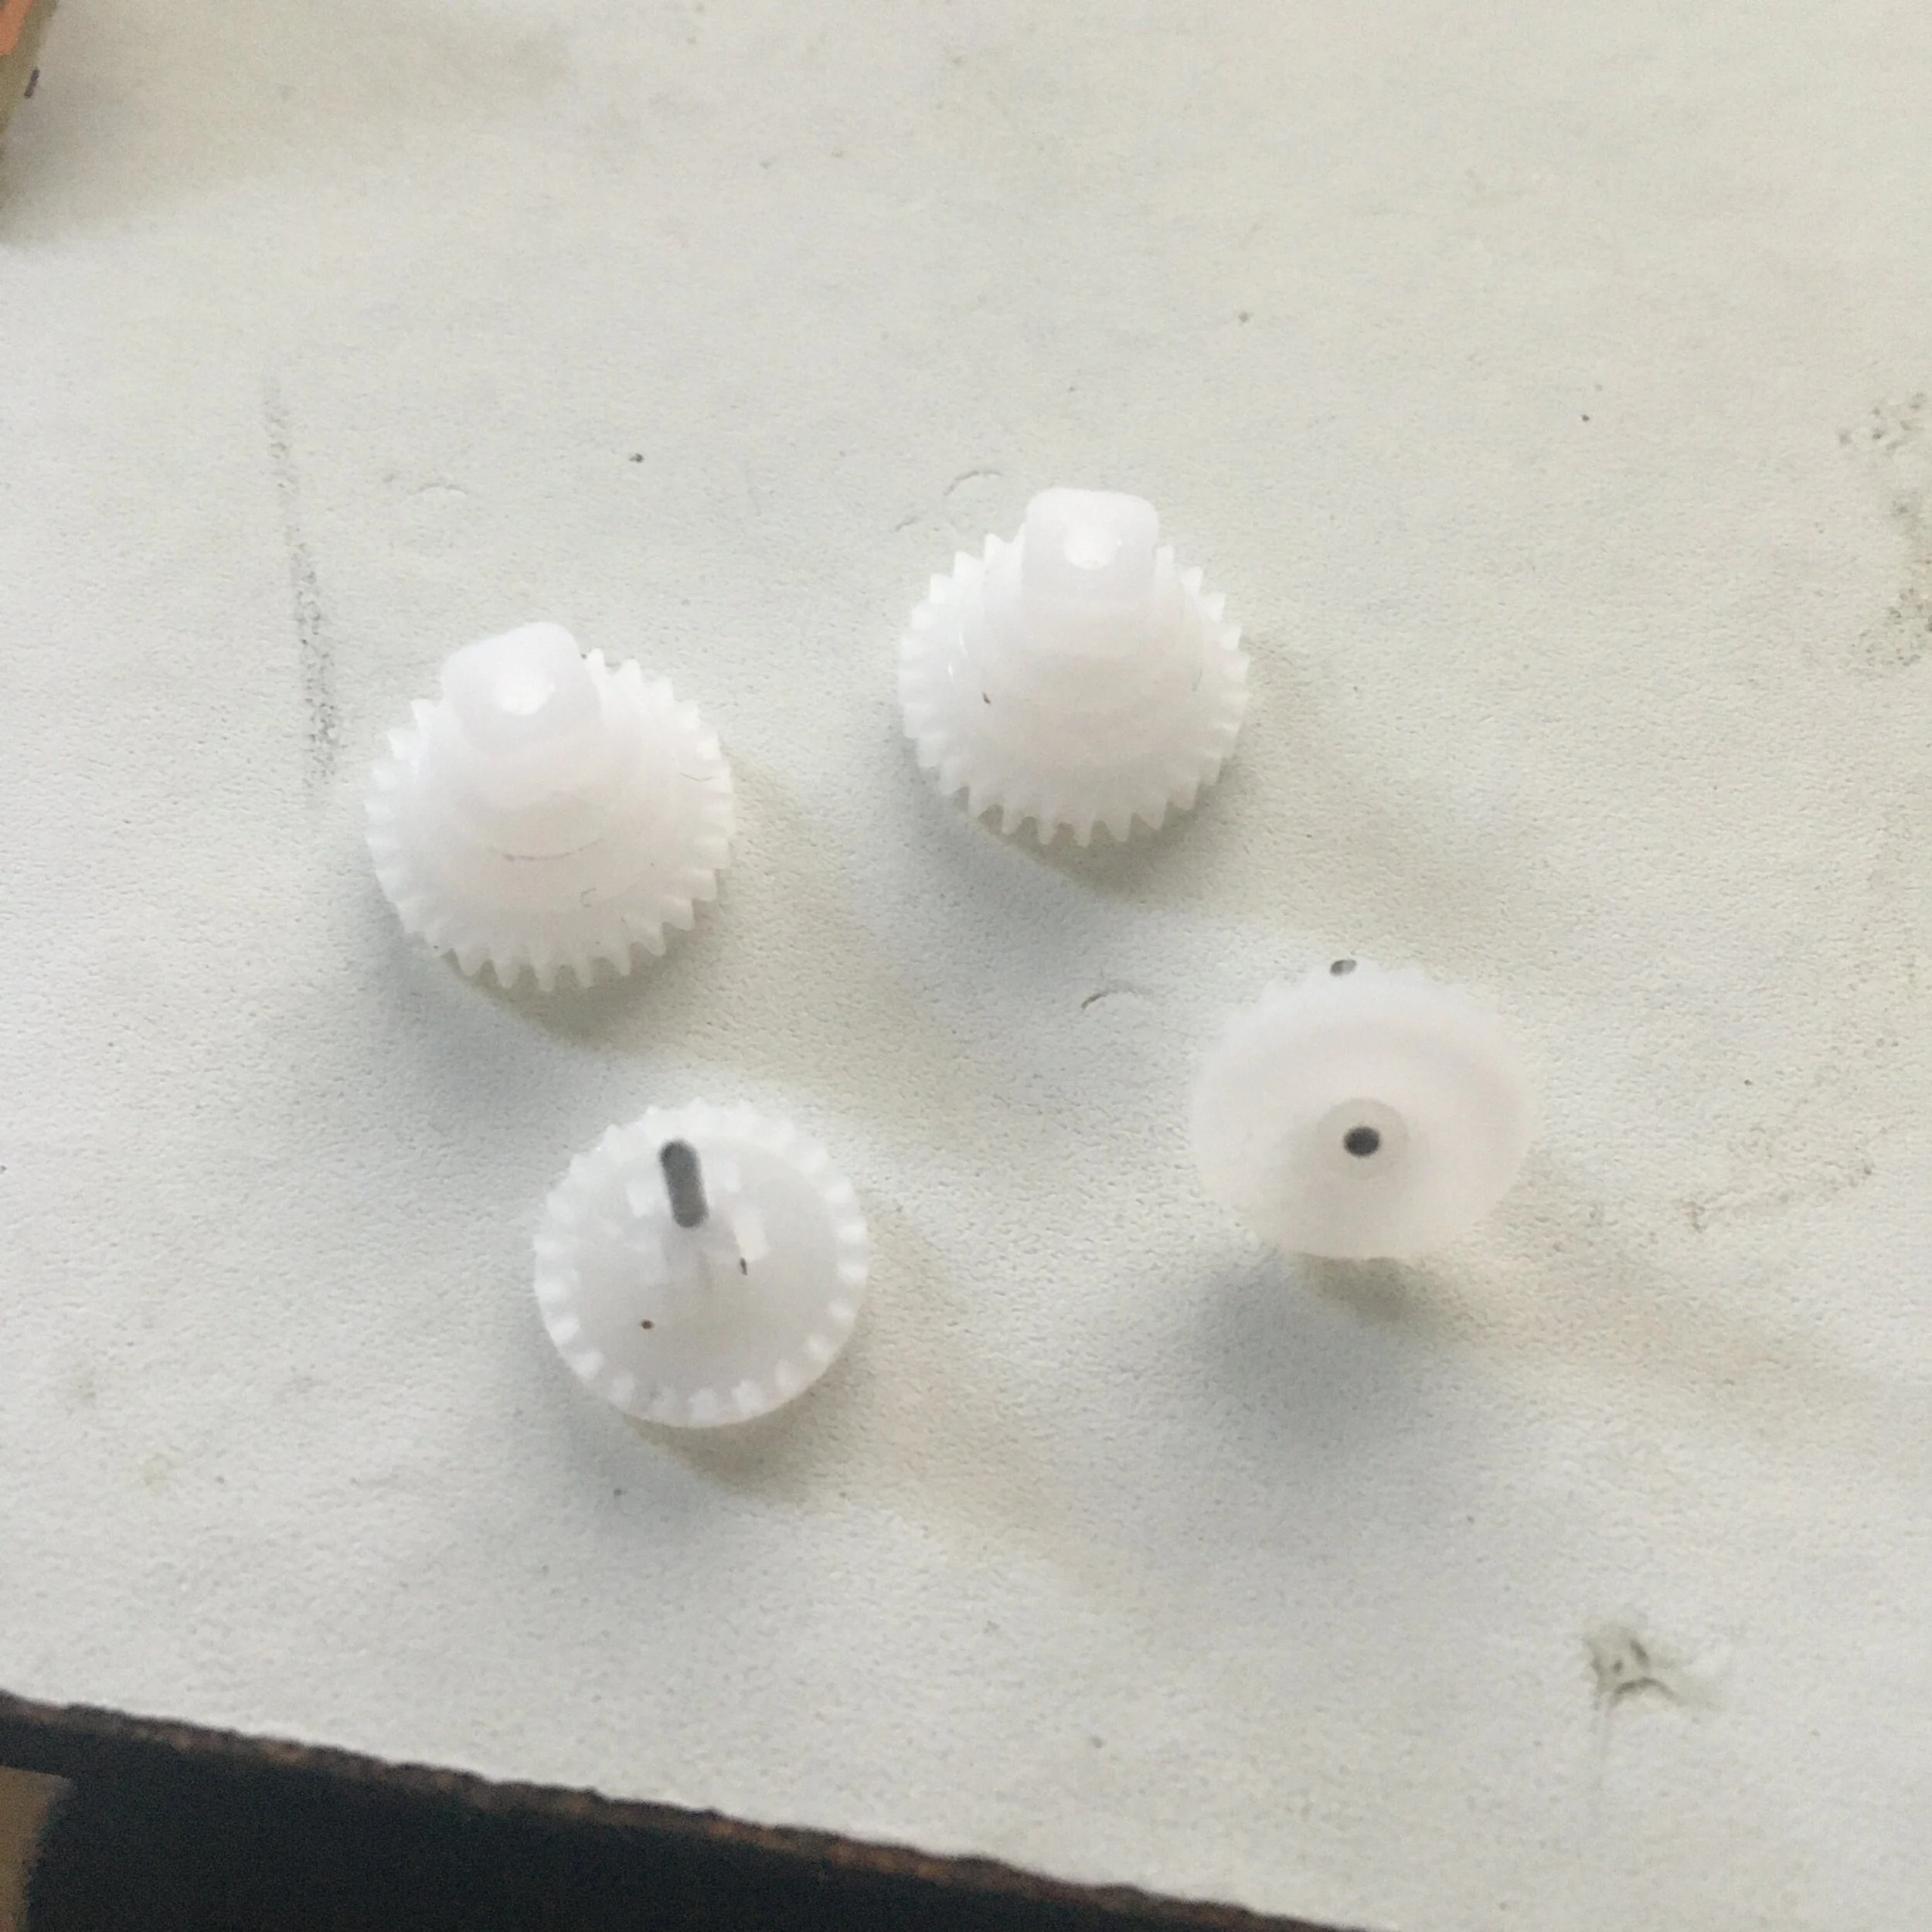
Next came the drive gears from Witch Doctor.
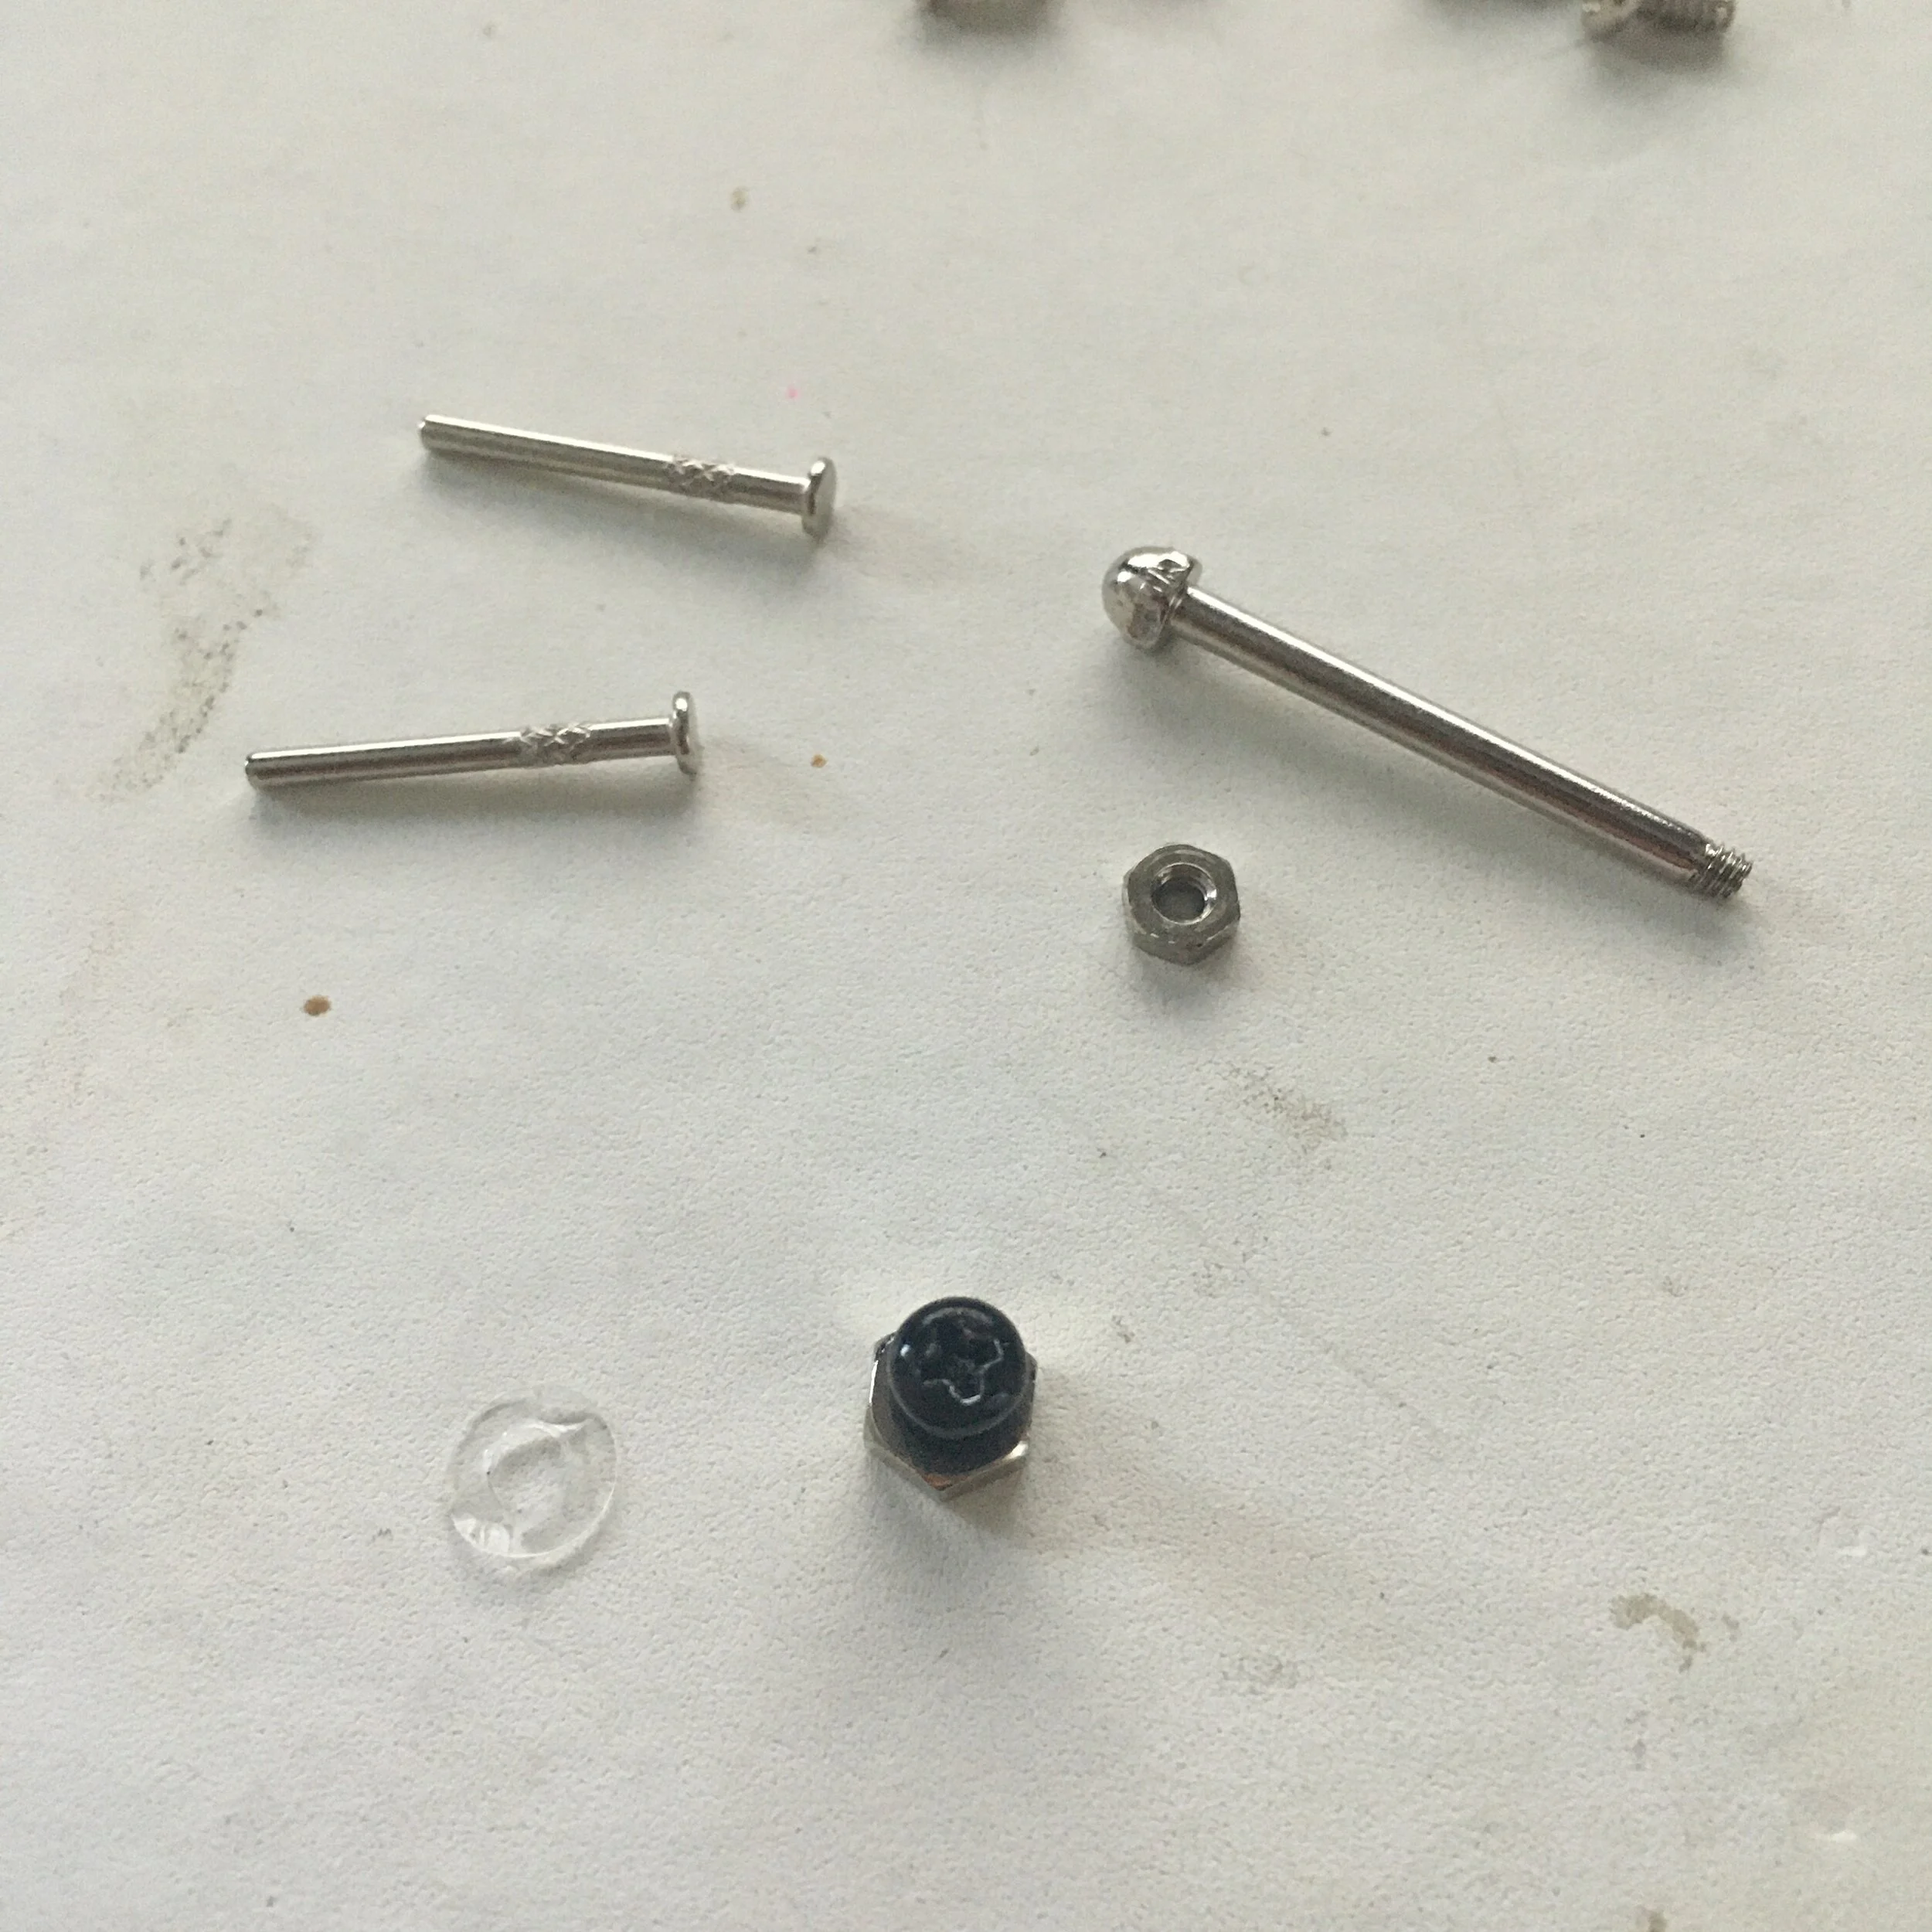
These are the drive axles from Witch Doctor, and the weapon shaft/battery cover screw/nut/washer from Tombstone.
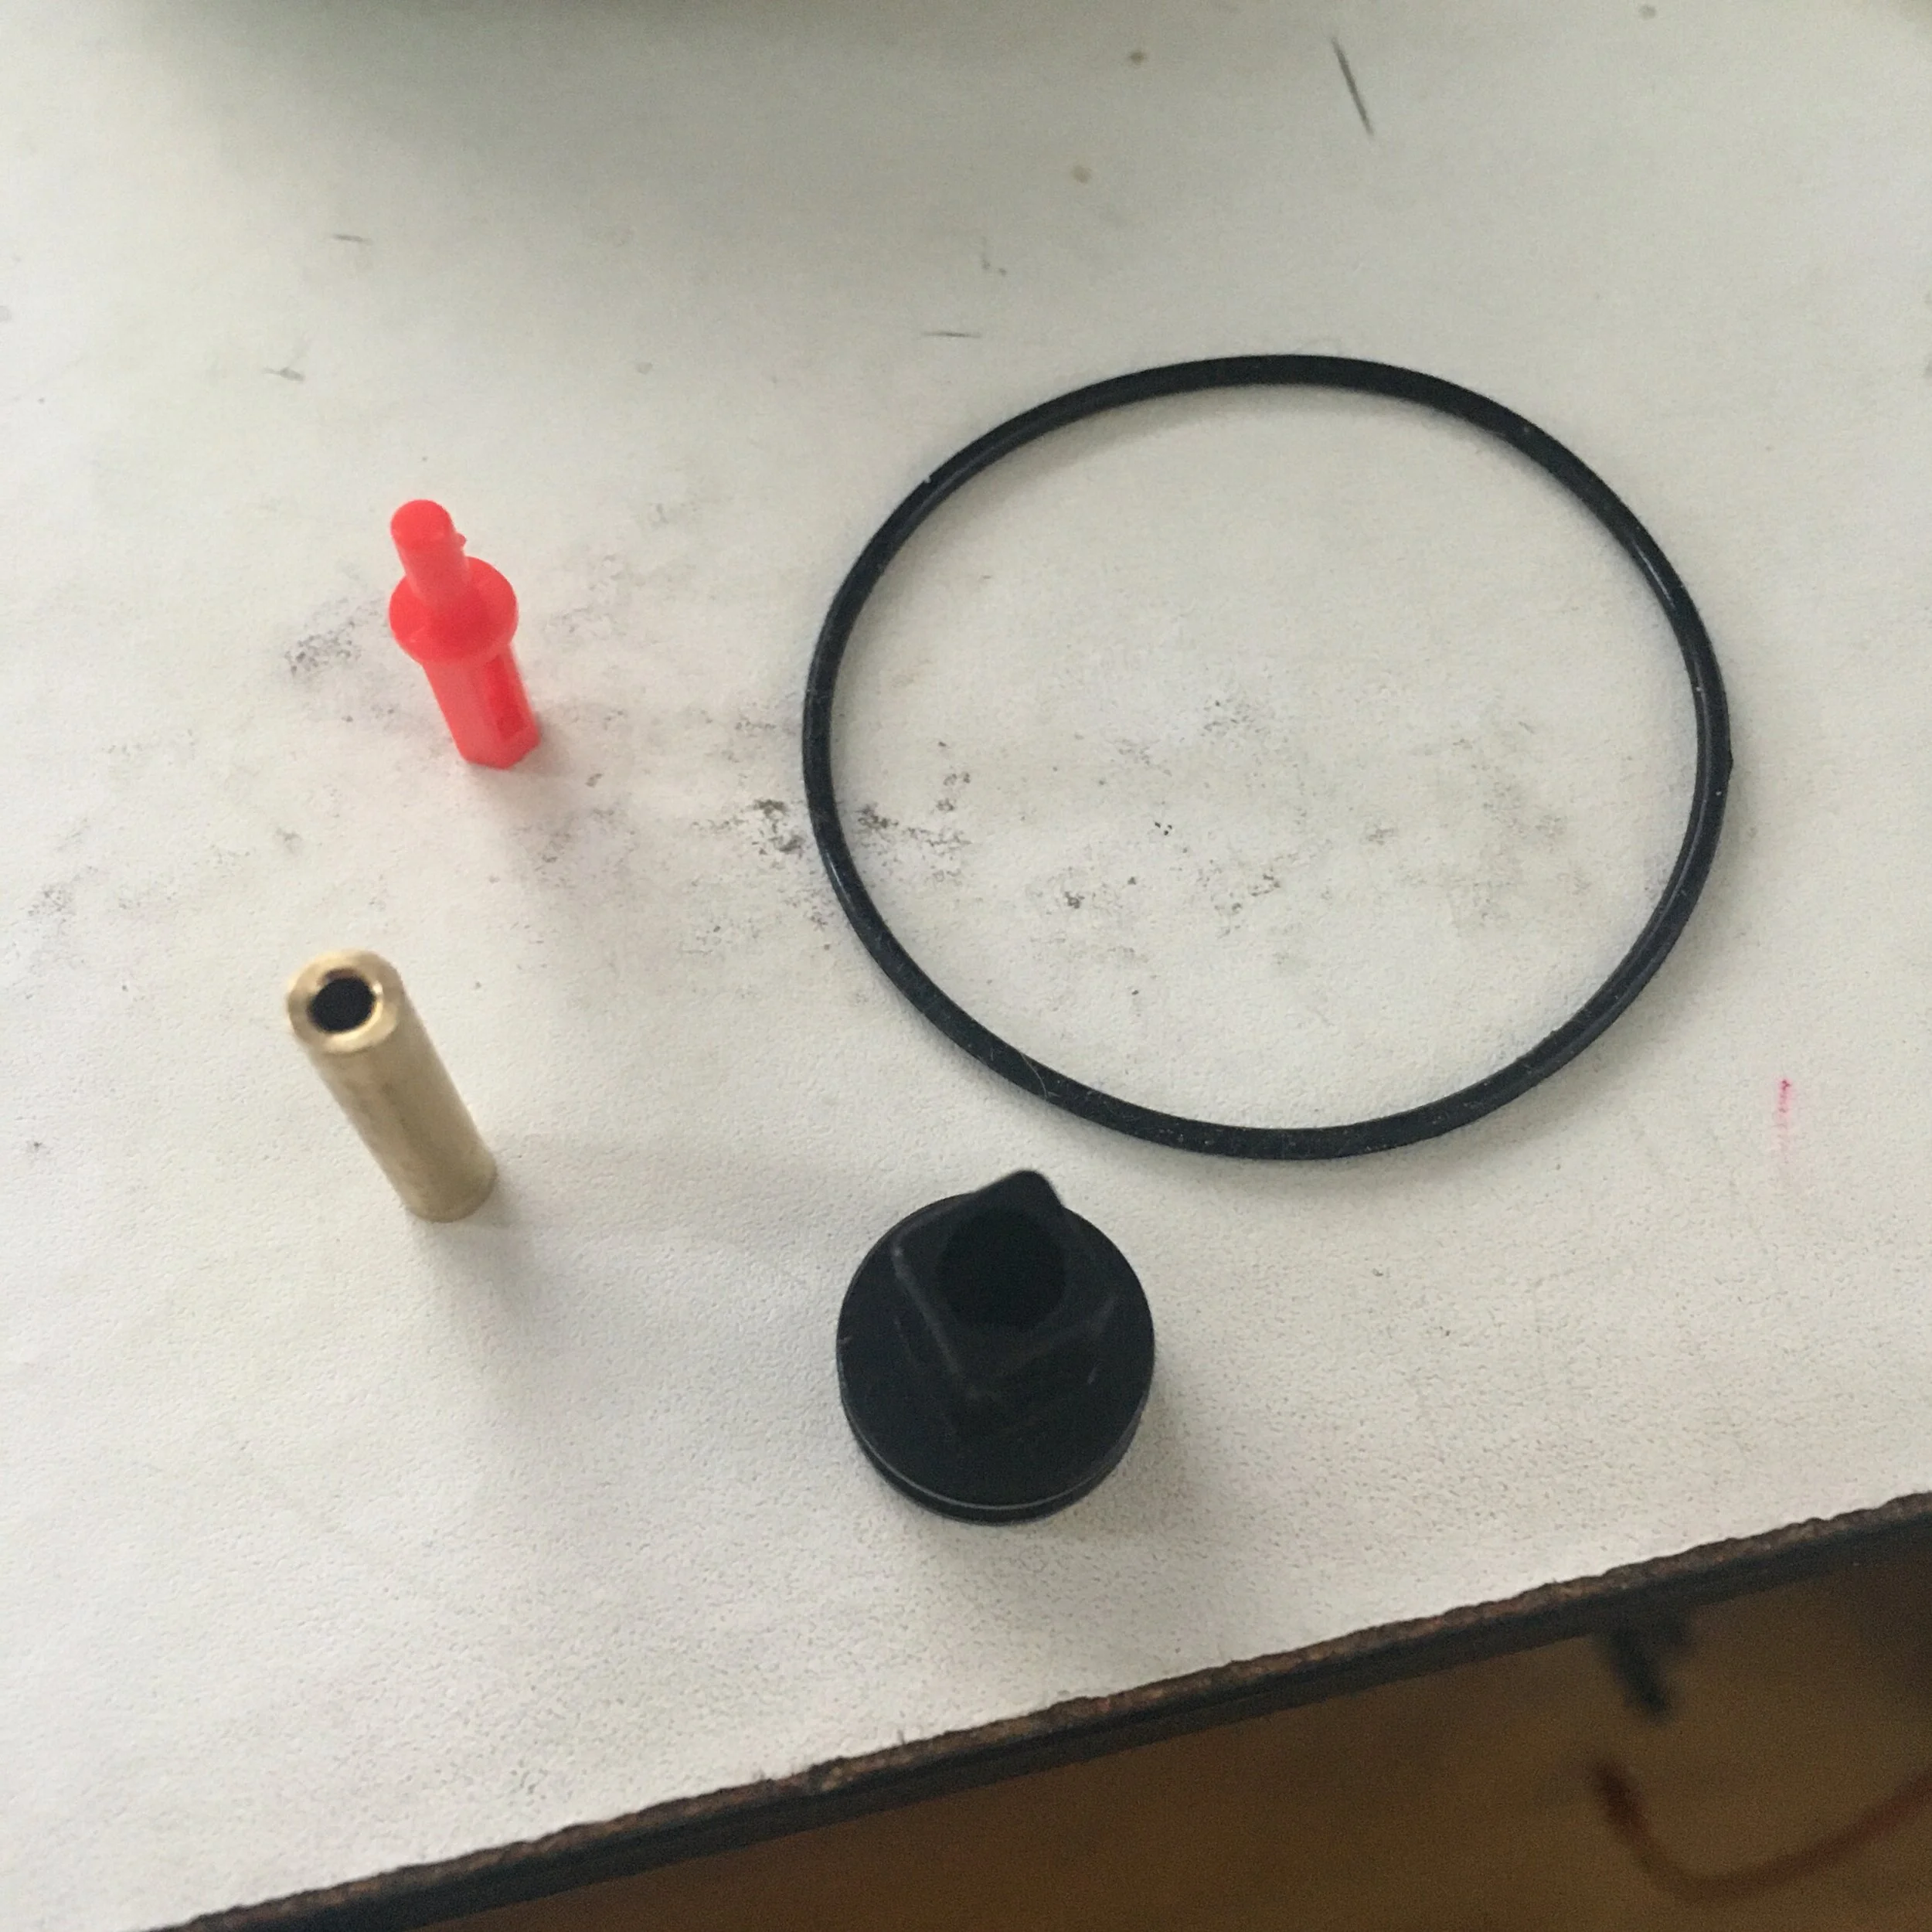
The weapon belt, pulley, and bushing from Tombstone. In the picture I show Tombstone’s power button, but I swapped it for Witch Doctor’s later on.
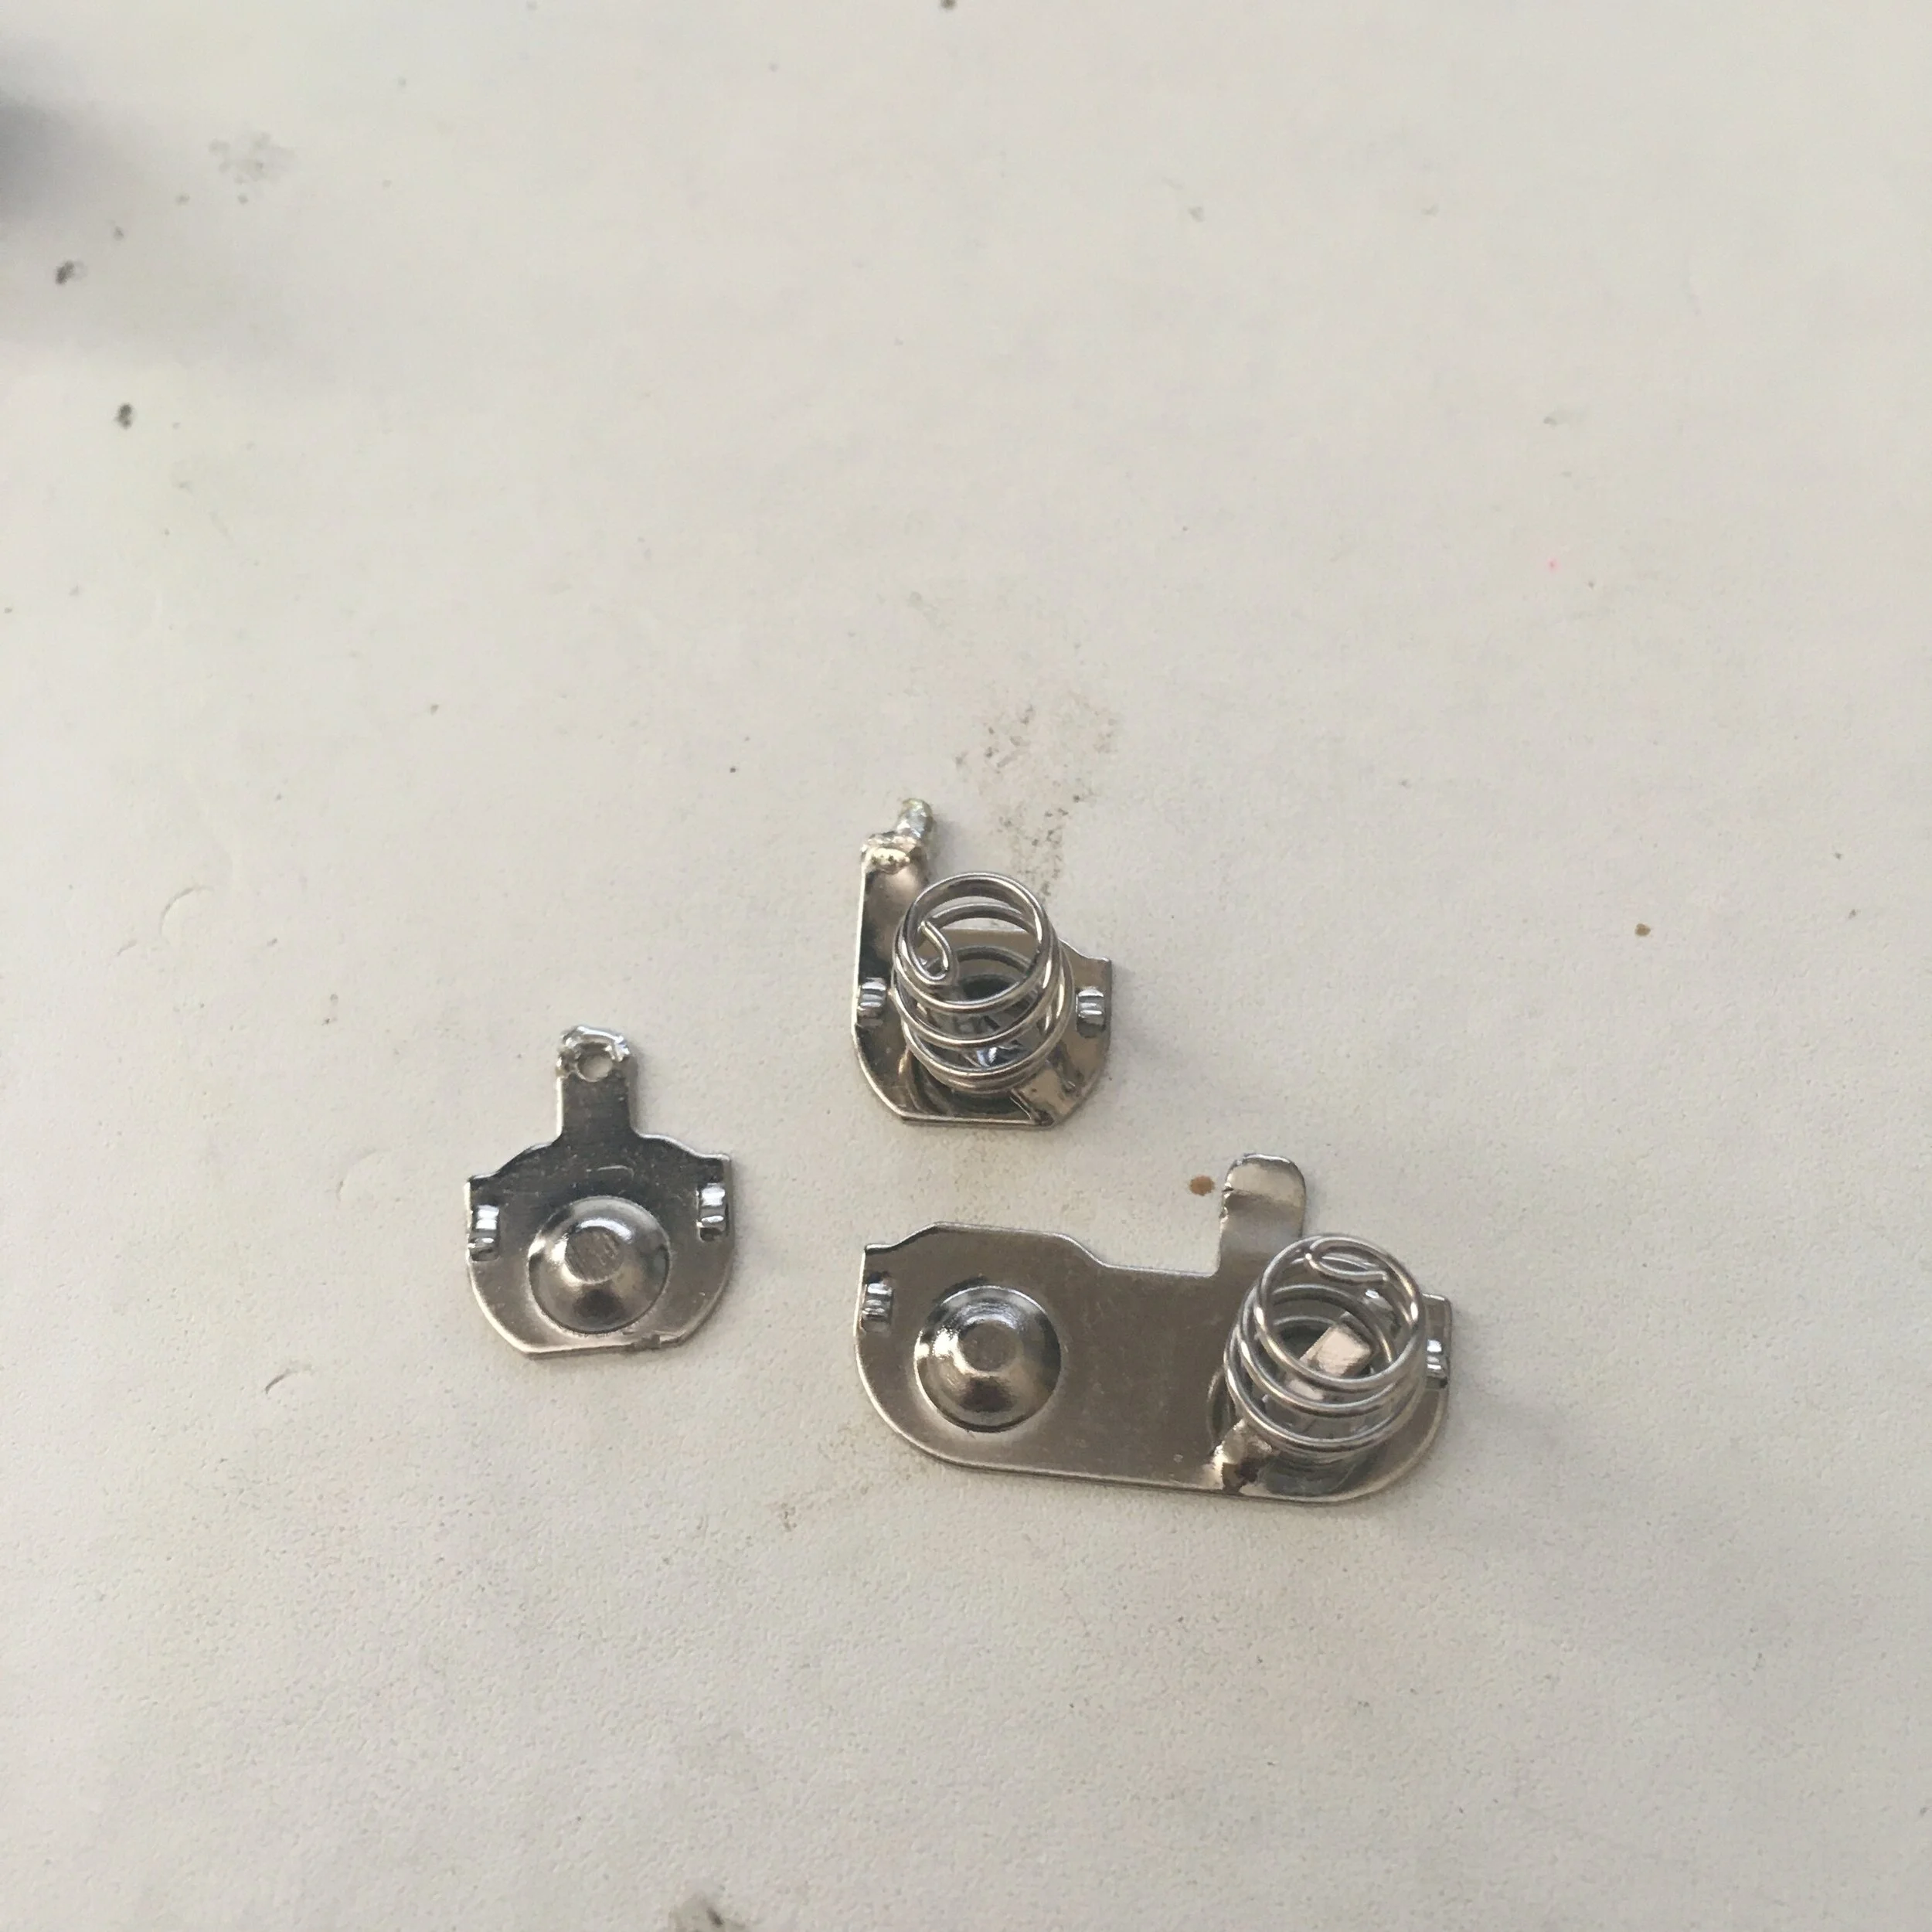
The battery contacts from Witch Doctor.
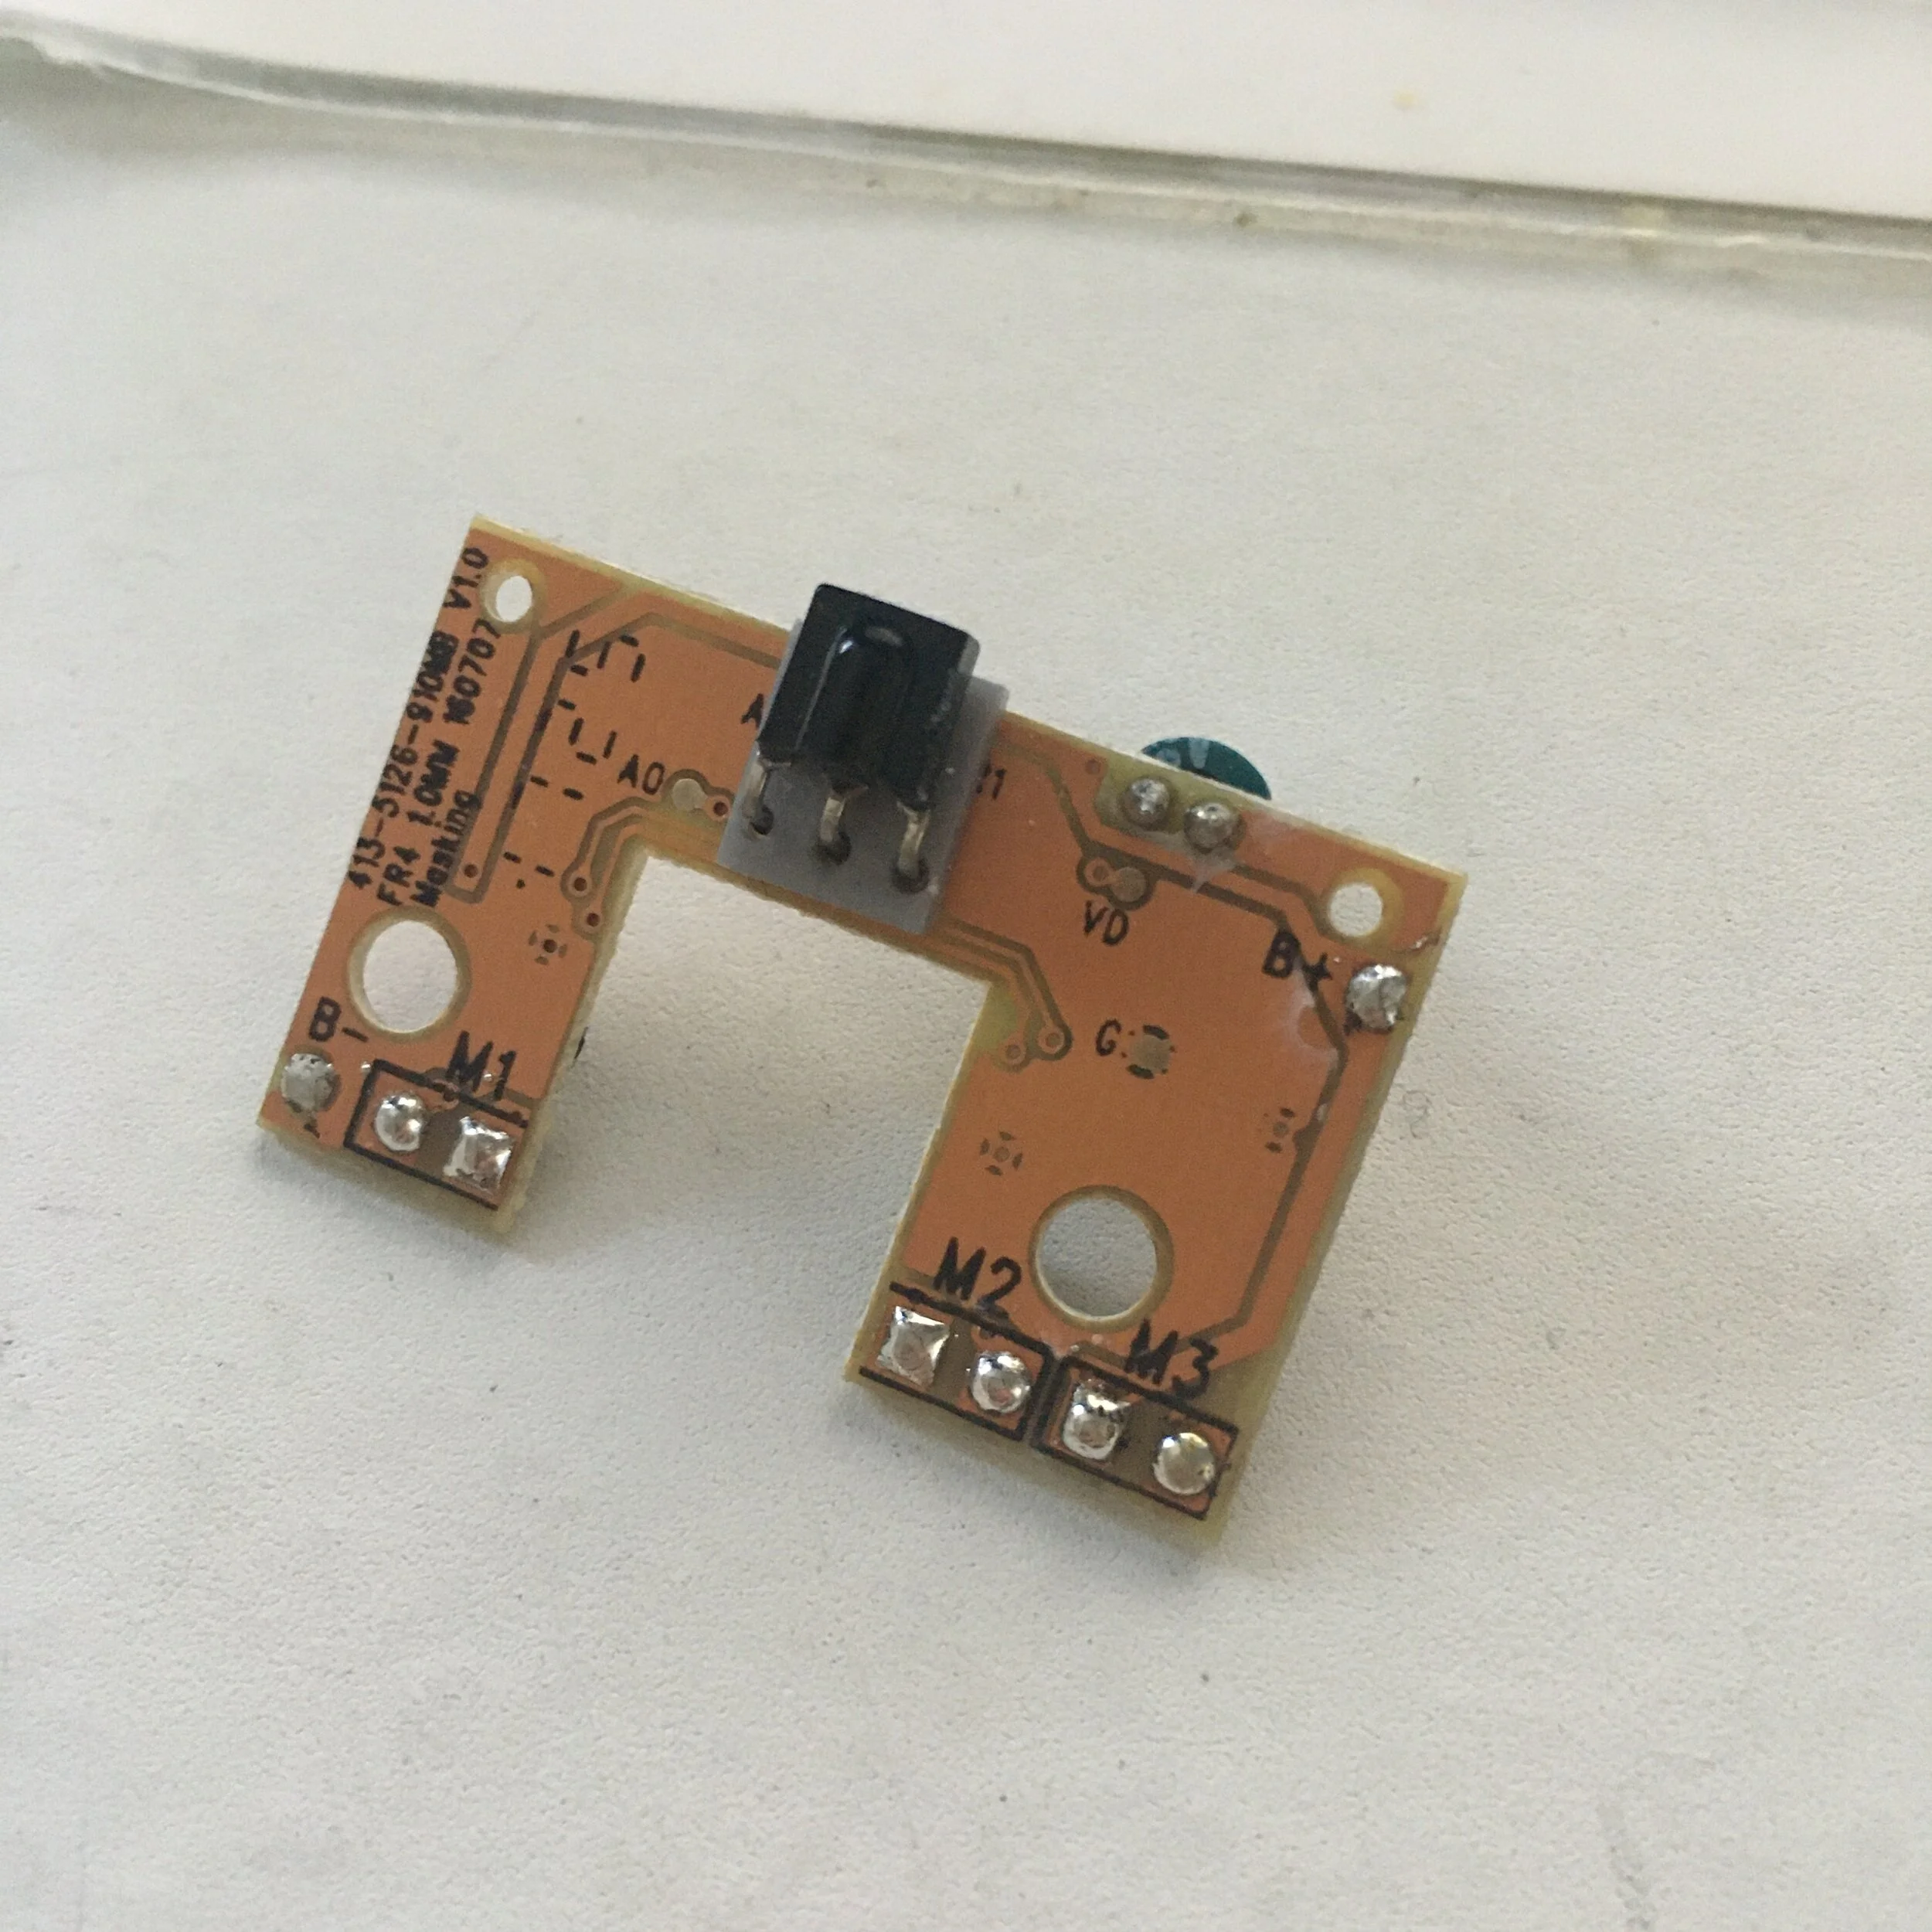
And lastly the PCB from Tombstone.
The toys are designed as a unibody piece that houses everything from the gearboxes to batteries to electronics, with various covers and extensions where needed. To keep with the theme and in case there is ever an official Hexbug Uppercut in the future, I also designed the majority of the robot with injection molding in mind.
To figure out the scale of the Hexbug Battlebots, I measured Bite Force’s wheel which I know to be a 4” Colson wheel in real life, found a scaling factor of around 6.8:1, and went with it.
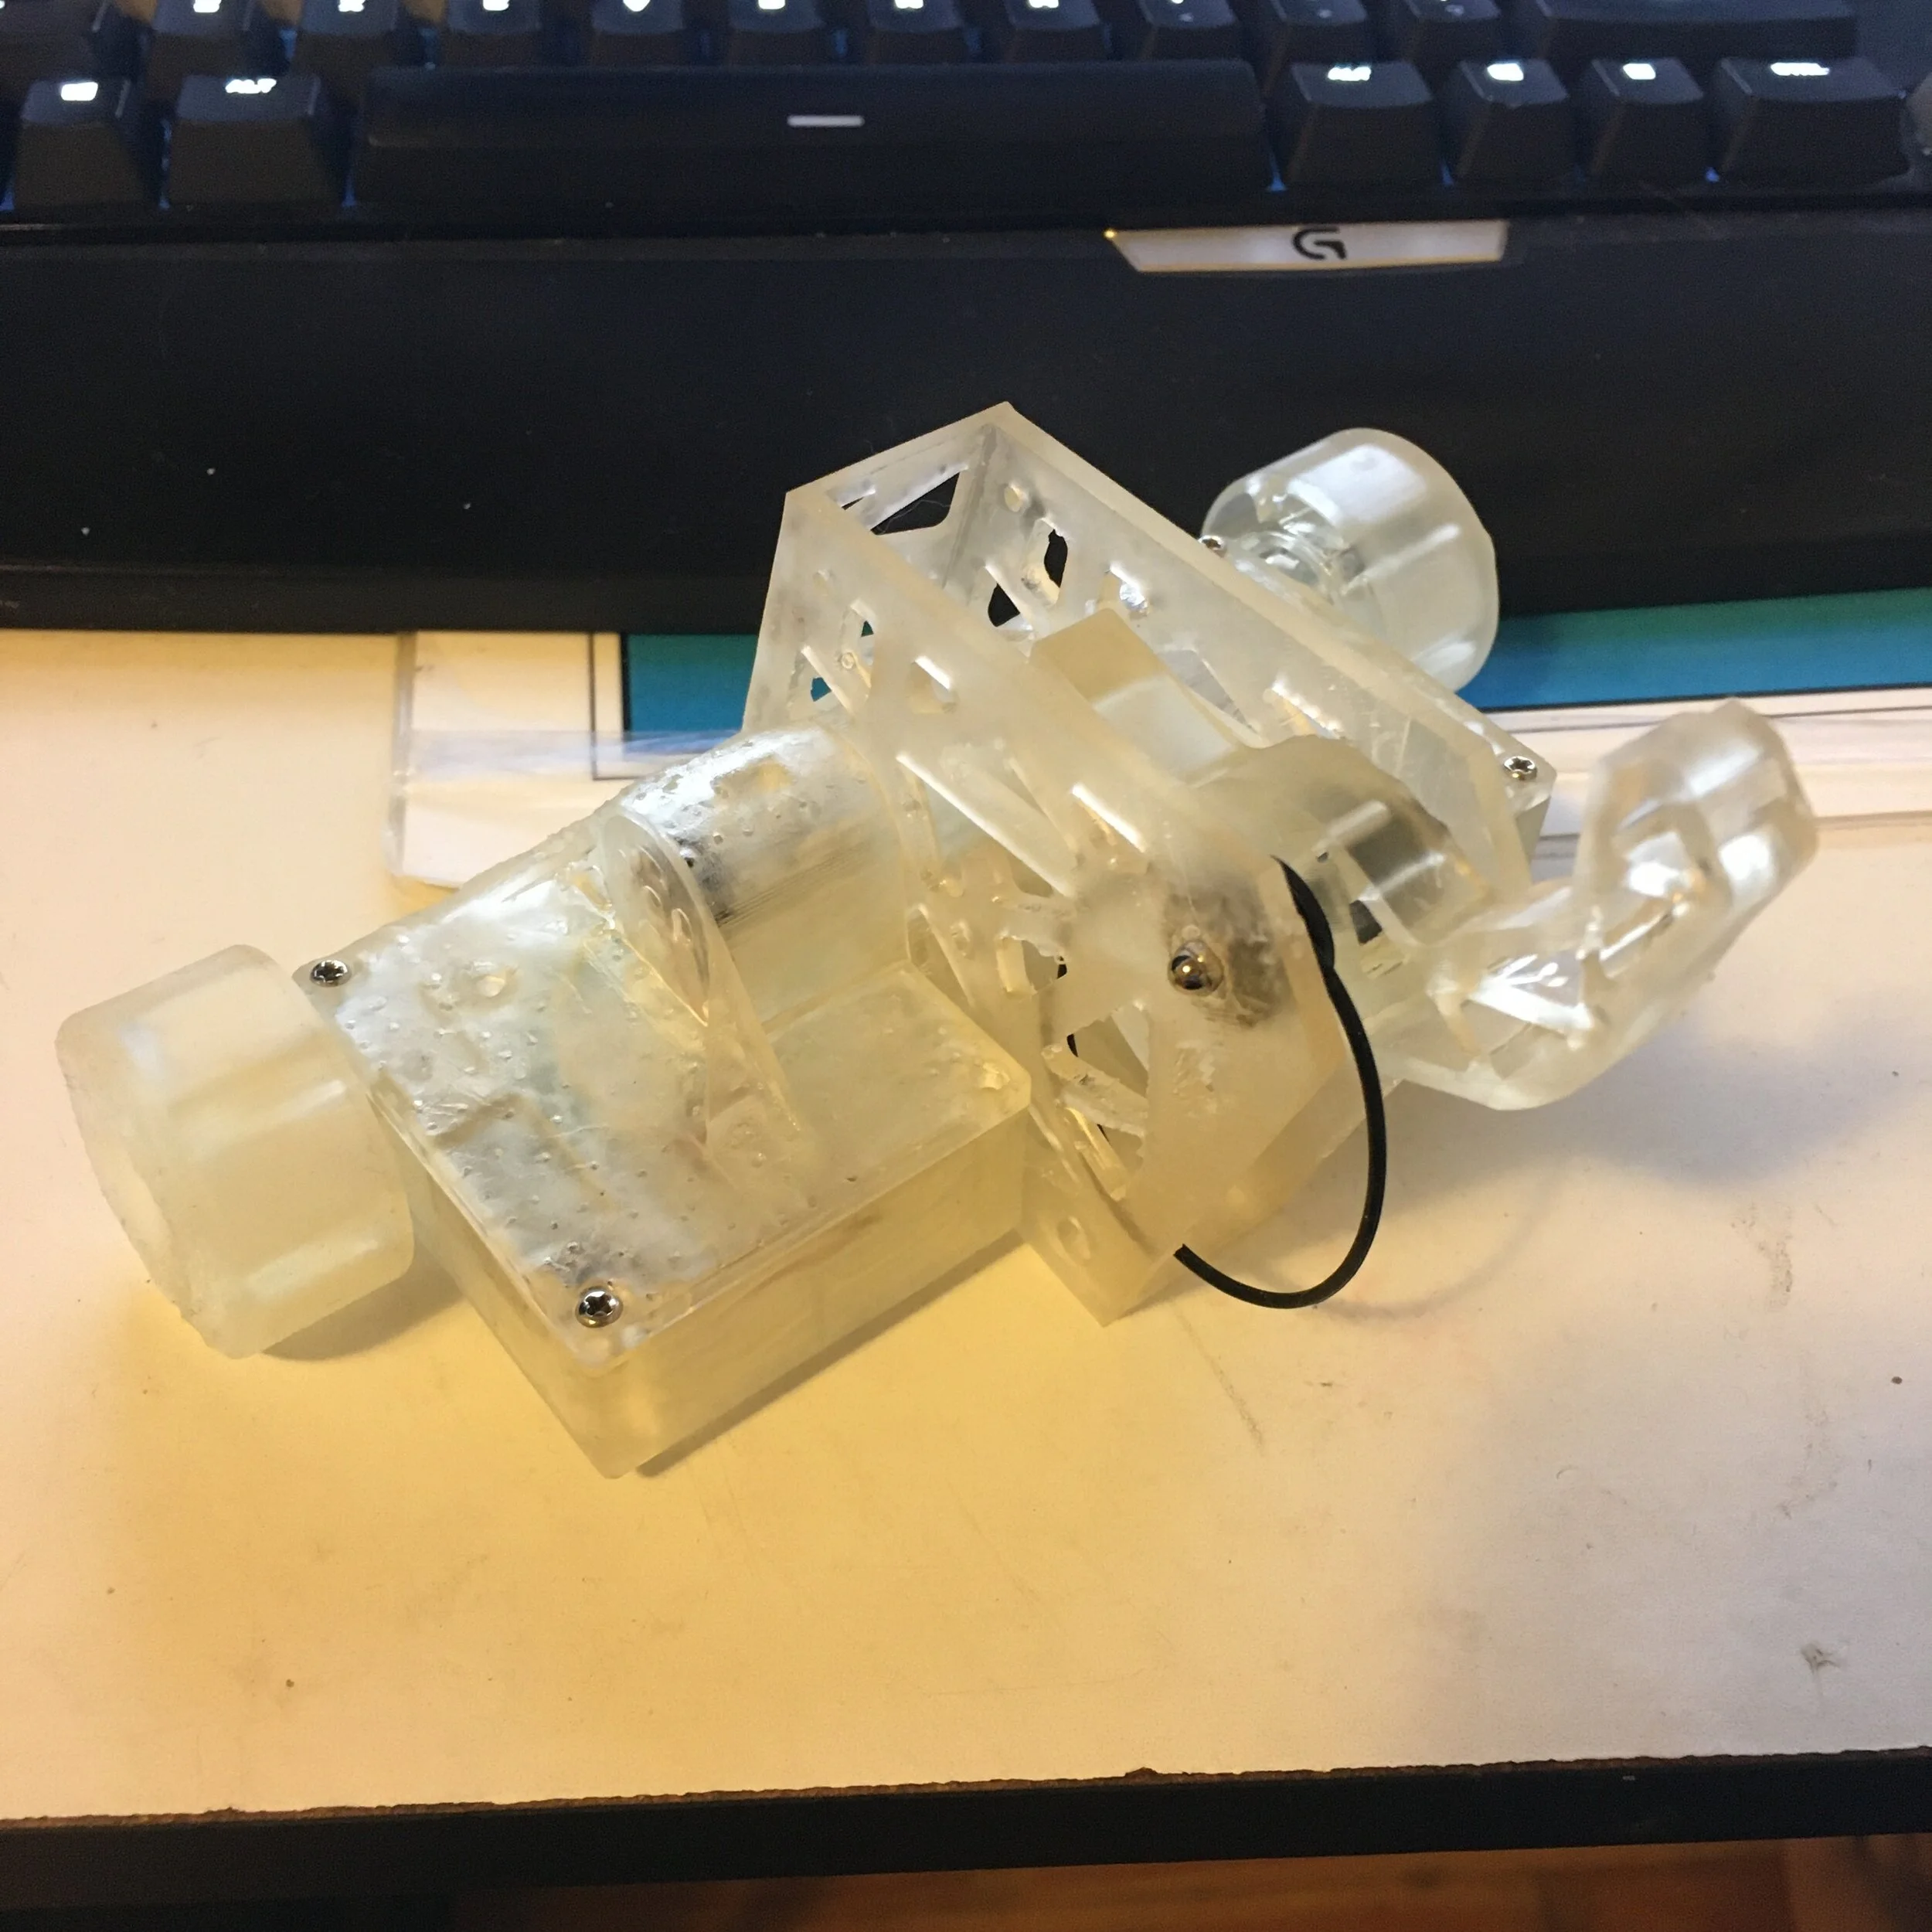
CAD was atrocious but doable and I chugged along. All the components fit in the main chassis, and then covers hold the gearbox, weapon motor, PCB and batteries in place. Then a separate weapon assembly is bolted on and is belt driven from the main chassis. Kinda like the real Uppercut! The non-functional parts of the CAD were derived from the last Uppercut model I made last week.
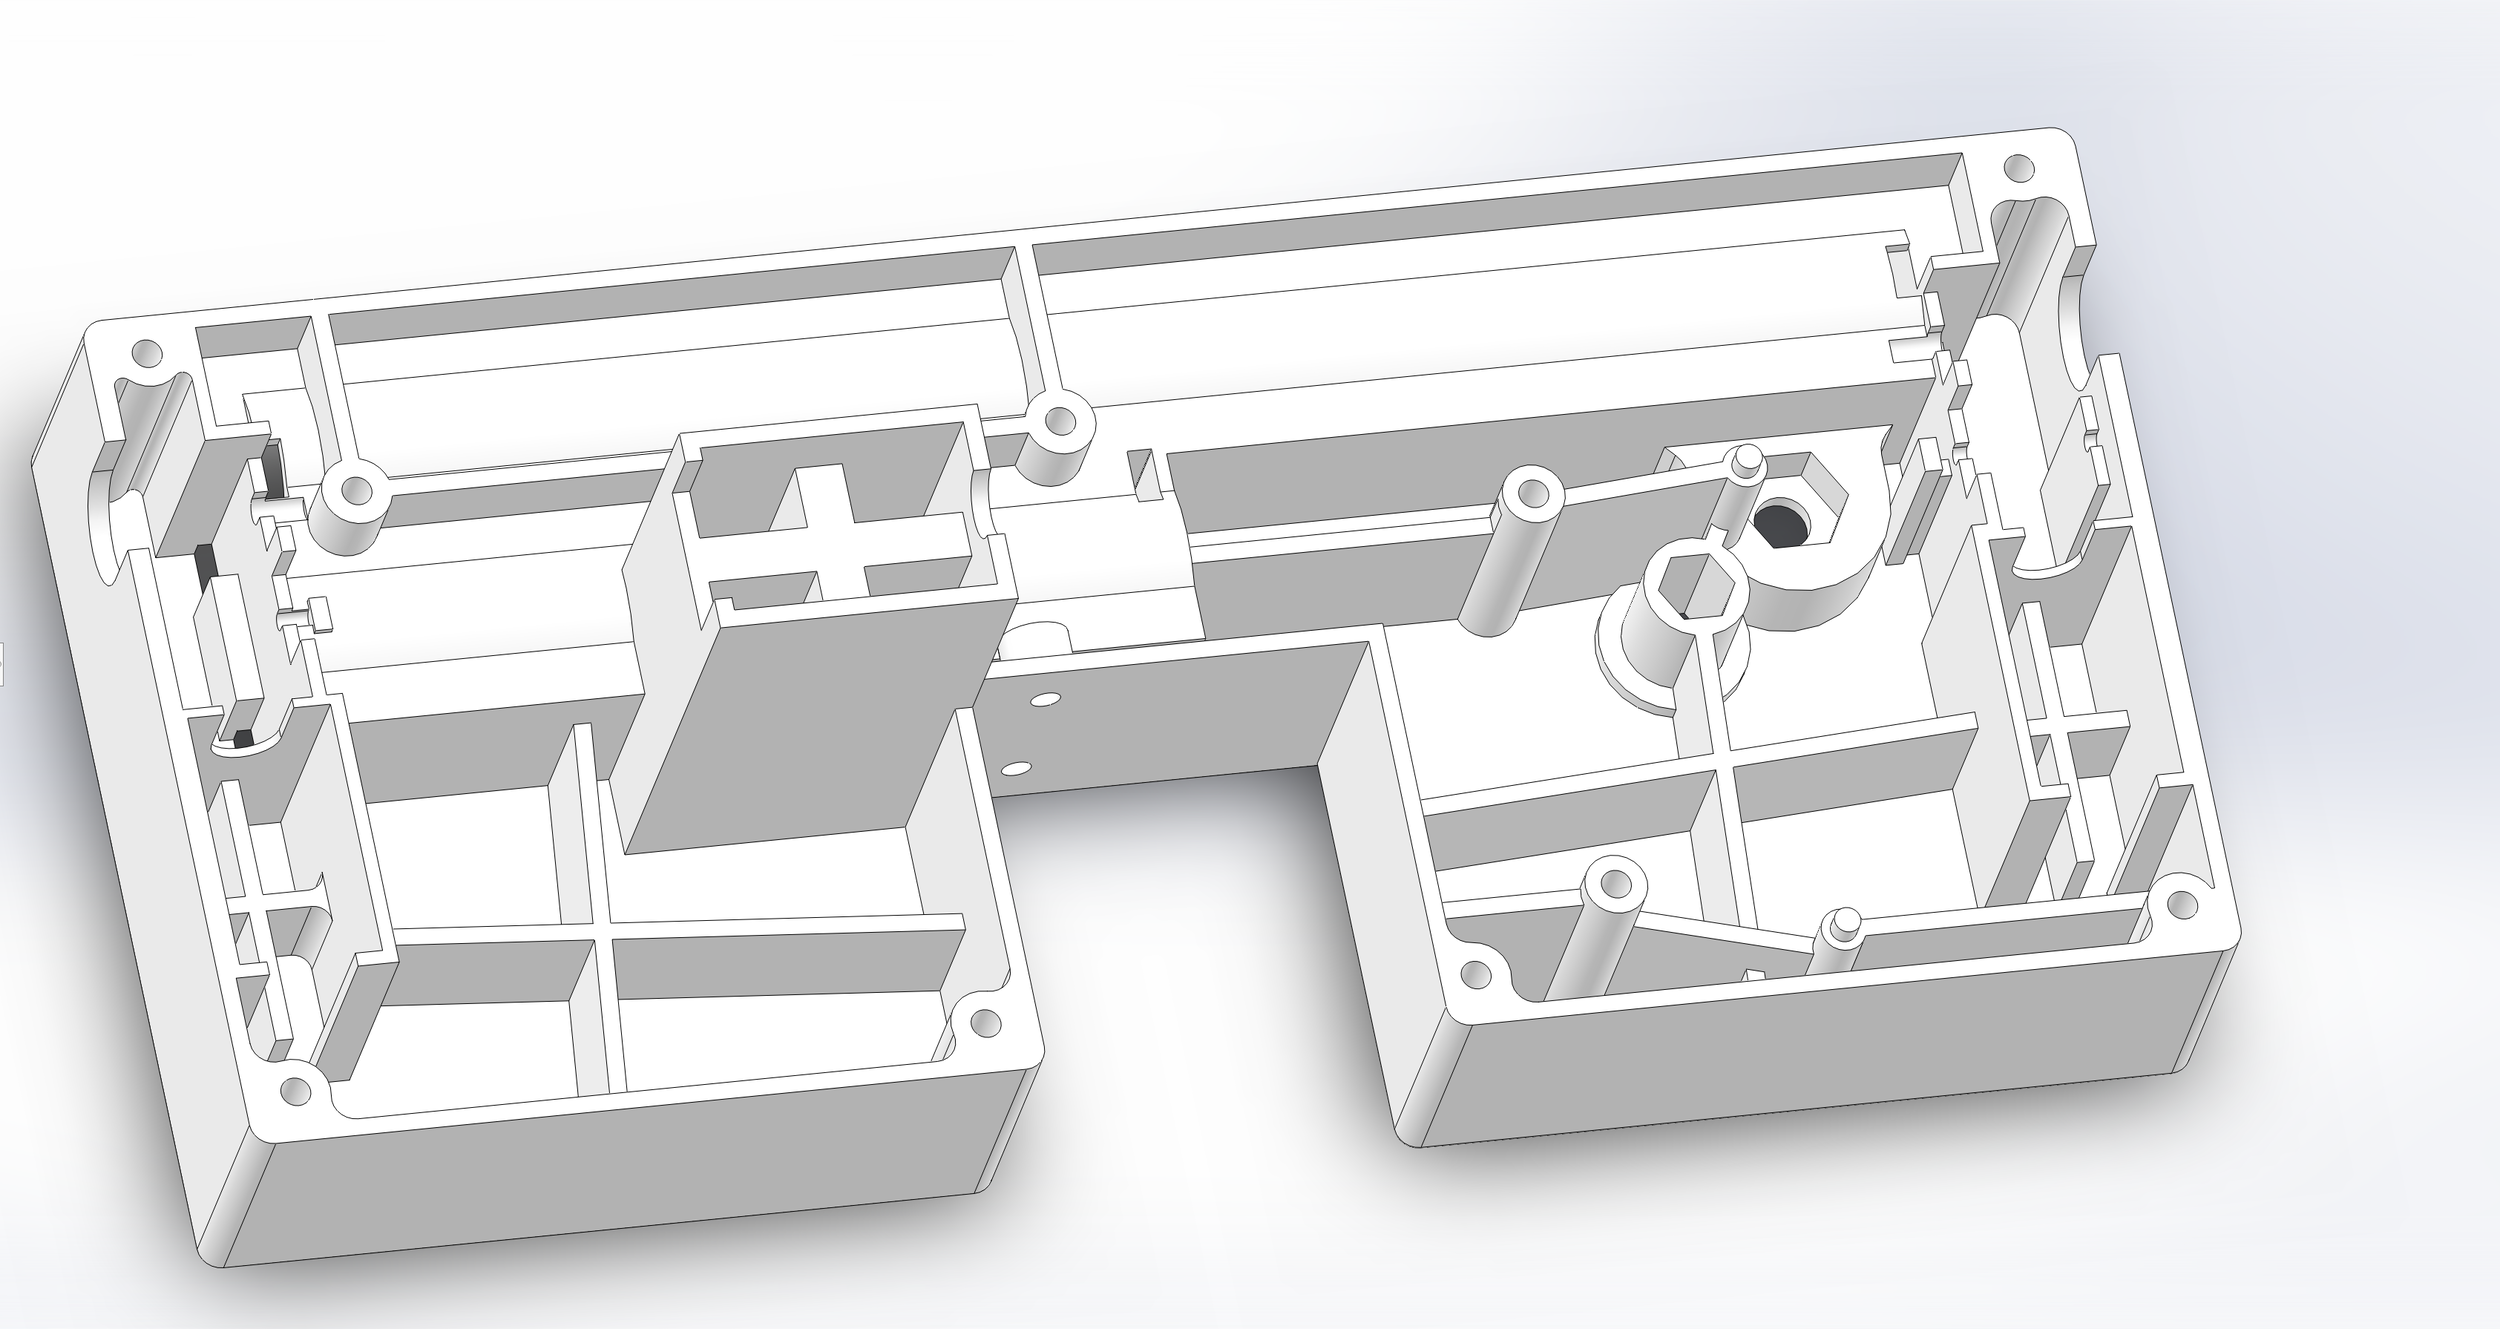

As you can tell there’s a lot of parts stuffed into this chassis and so even the slightest mistakes required reprints of the whole chassis.
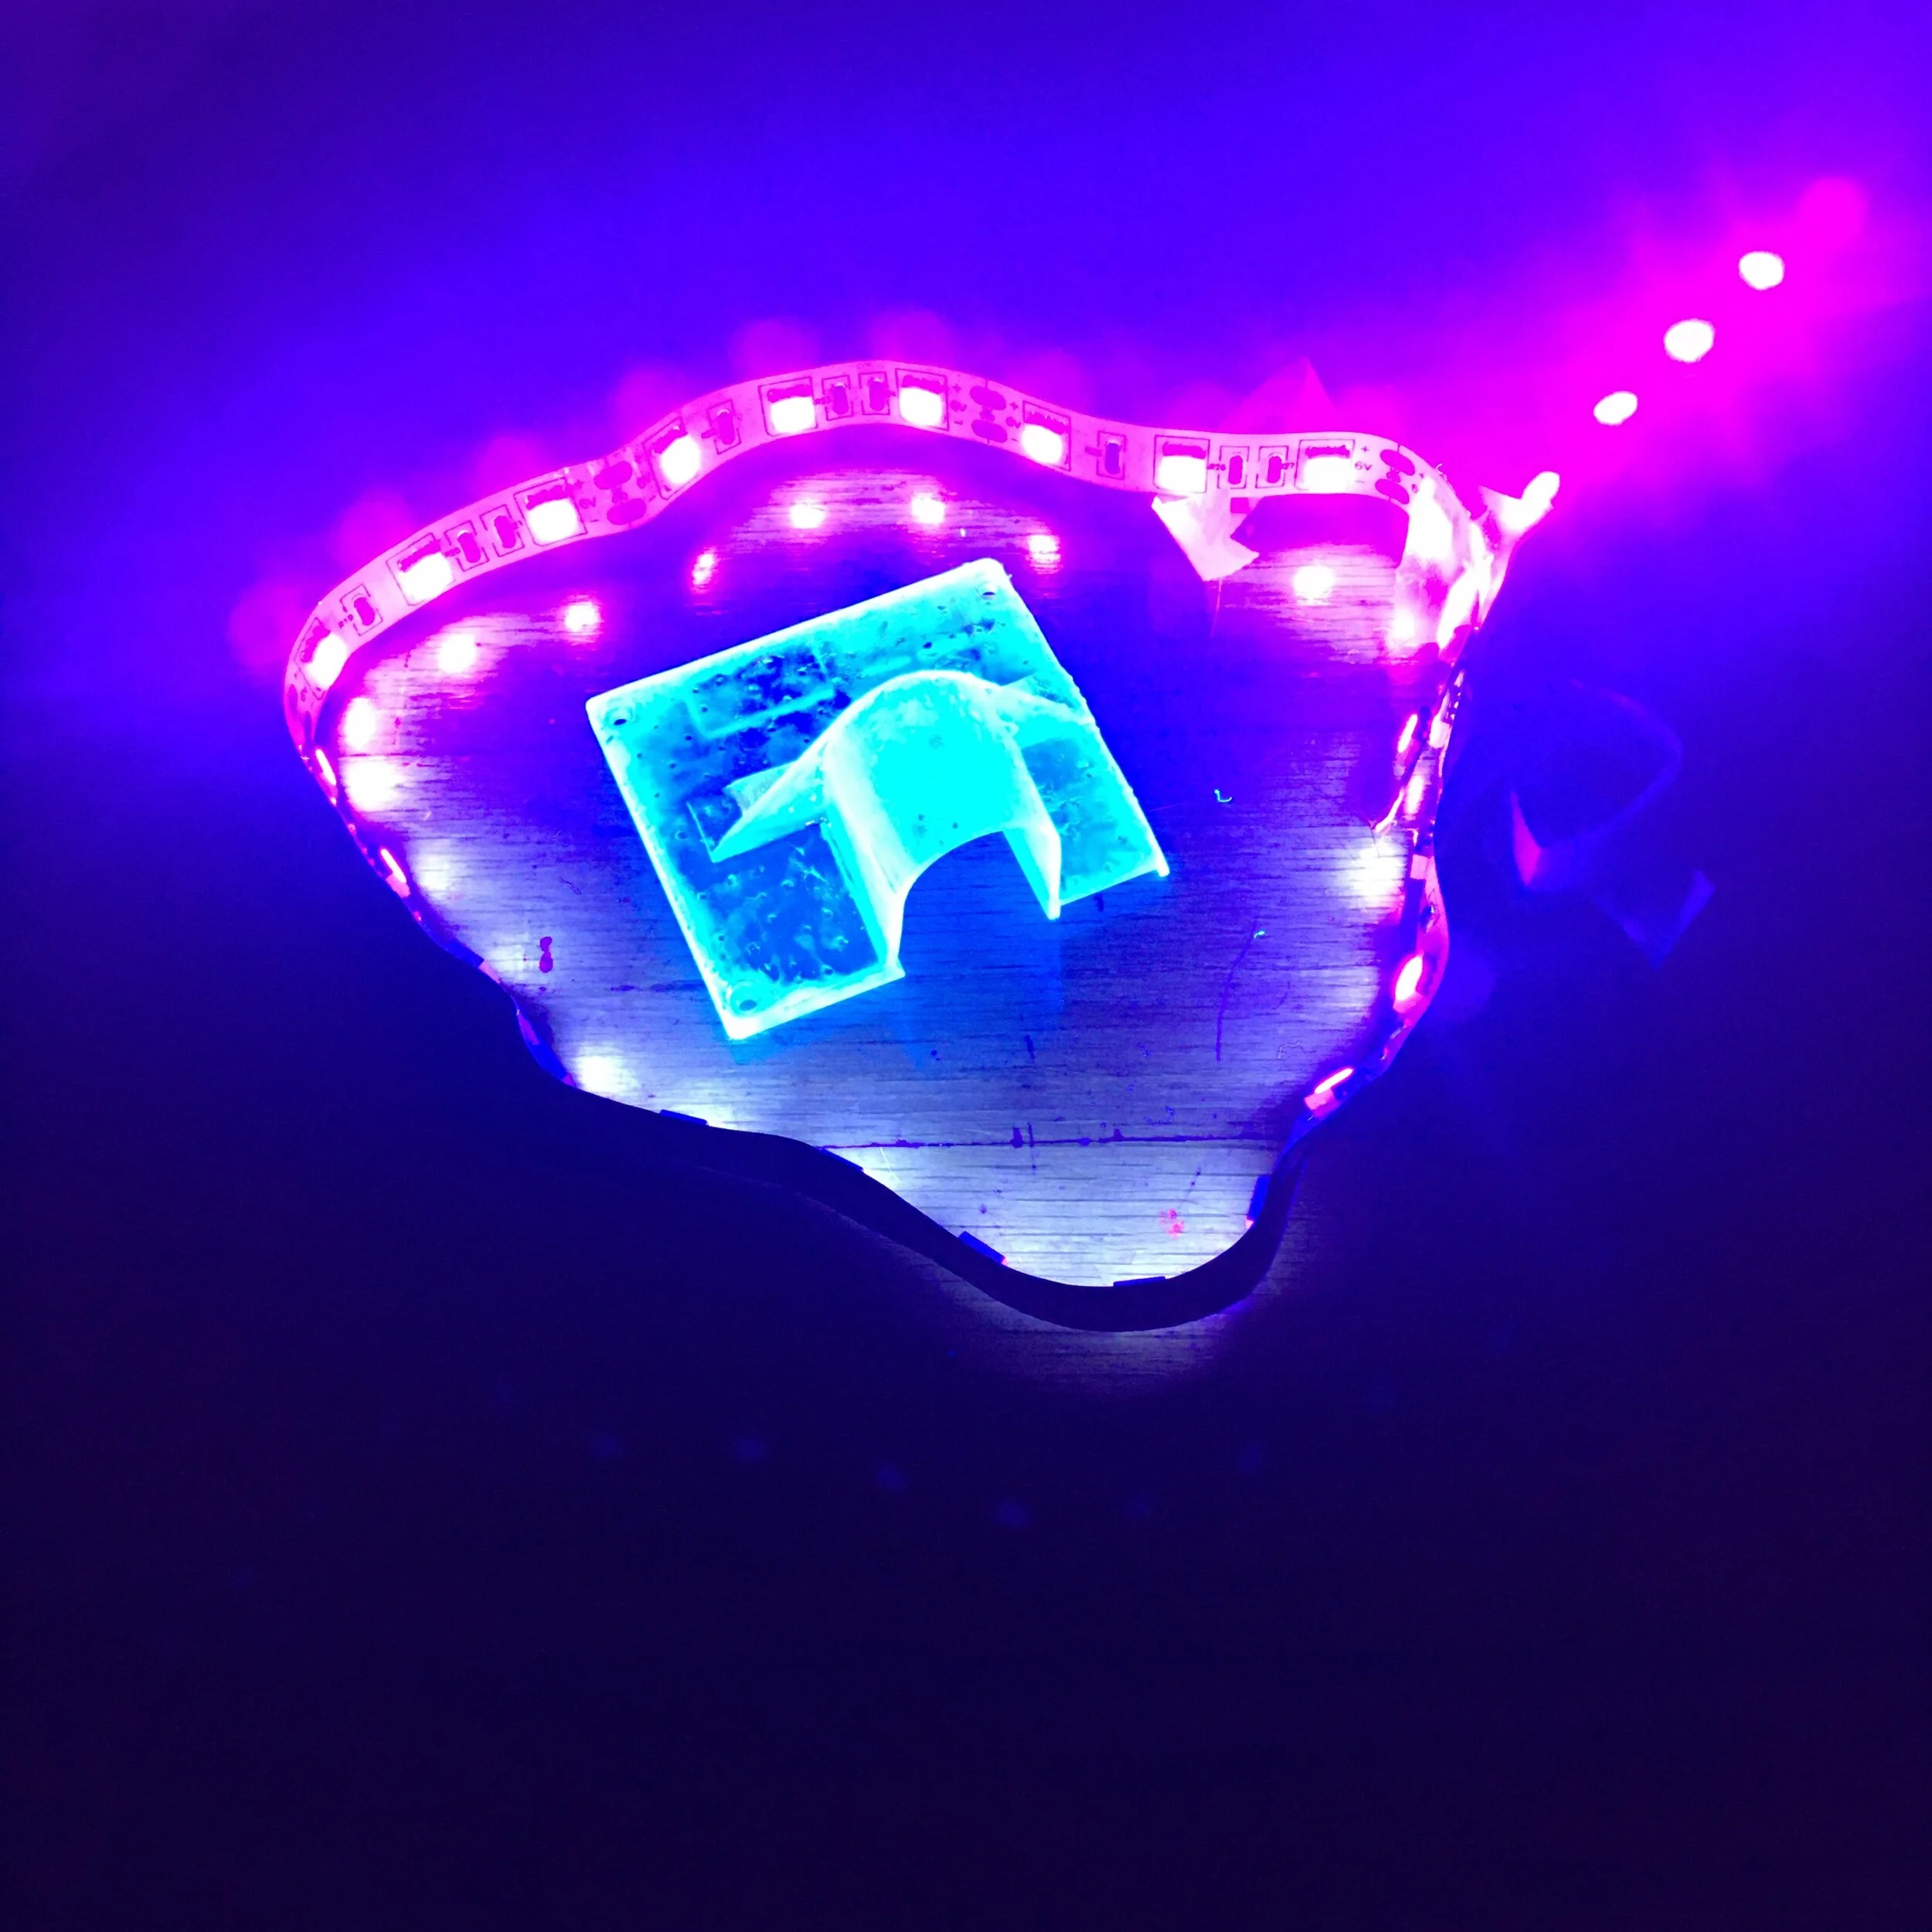
I got a new tough resin (Siraya Tech Blu) for my sla printer which I started using for this project cause it has many threaded plastic bits. Unfortunately it does not print as reliably as the green brittle material I had before due to its viscosity which added some unnecessary headaches. I did however find that this blacklight LED strip I got from YoYoFactory is useful for curing my sla parts when its dark out.
Many hours of printing later and the design started to appear.

Within two iterations of the frame I was able to have the gearboxes working and the electronics working, but unfortunately the battery cover was still a disaster. AAA batteries are big and heavy and the battery tabs require small holes in the plastic housing which my printer had trouble printing reliably. I’m still working on the battery cover situation.
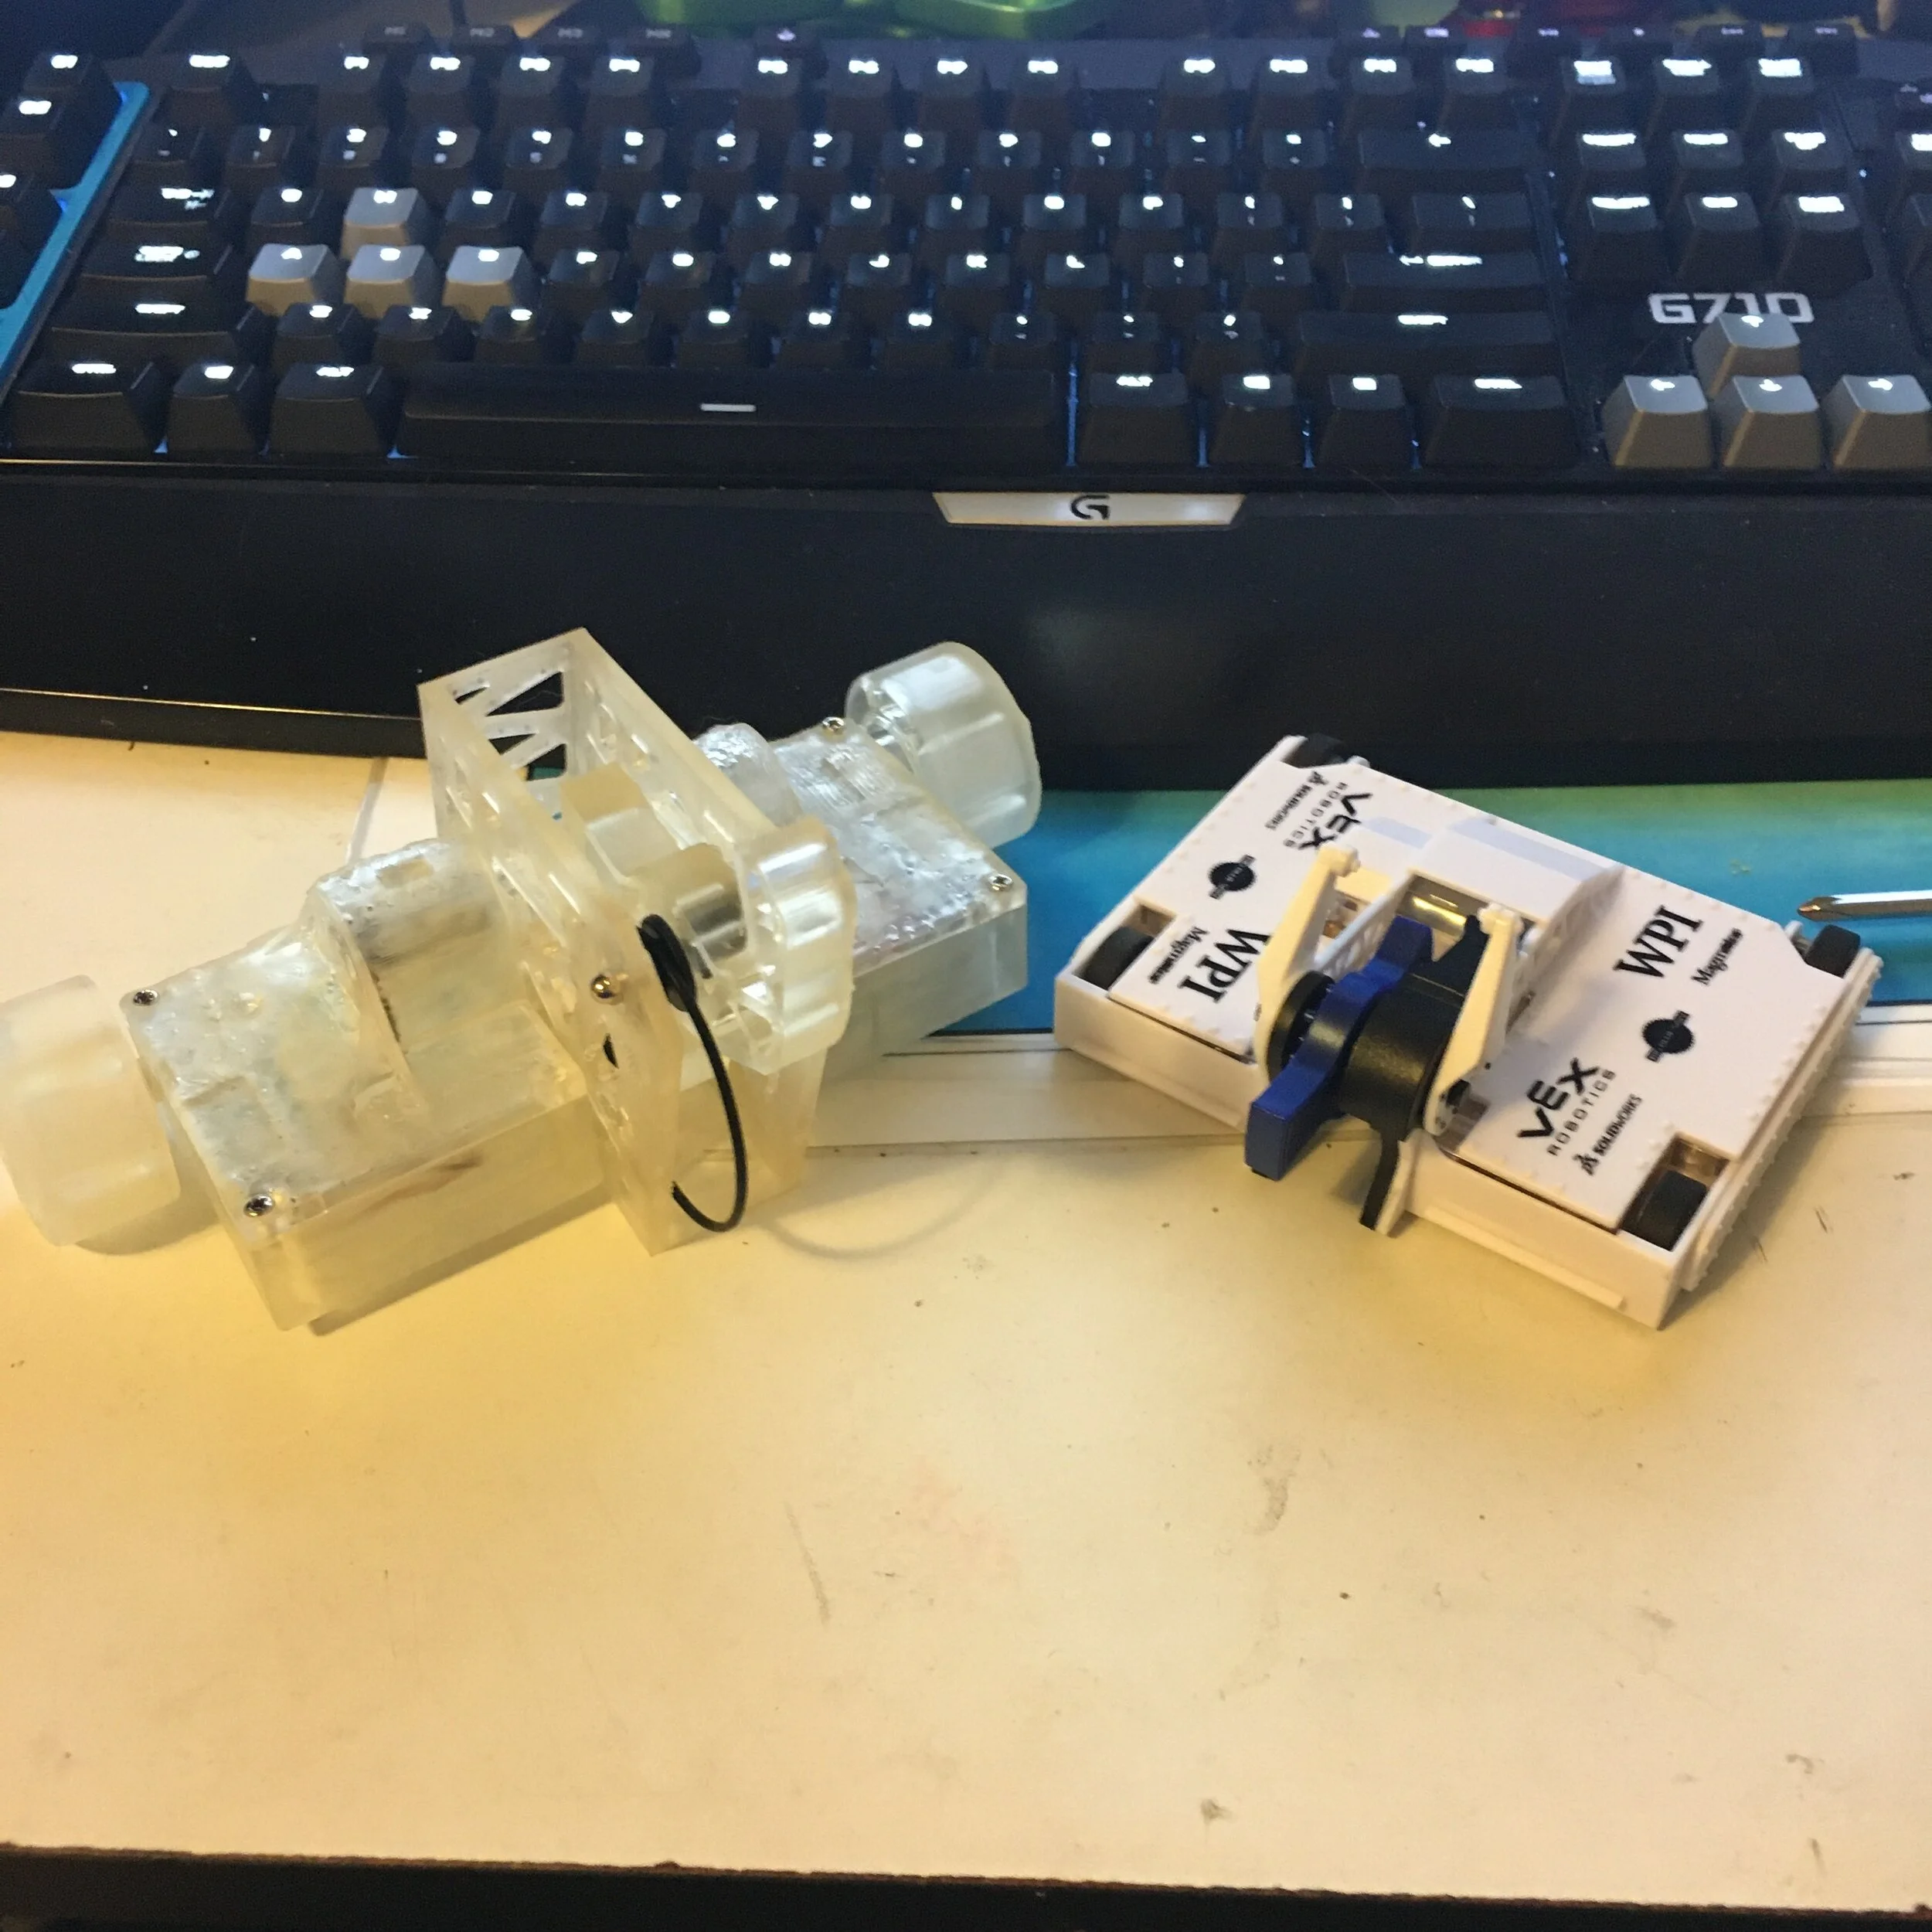
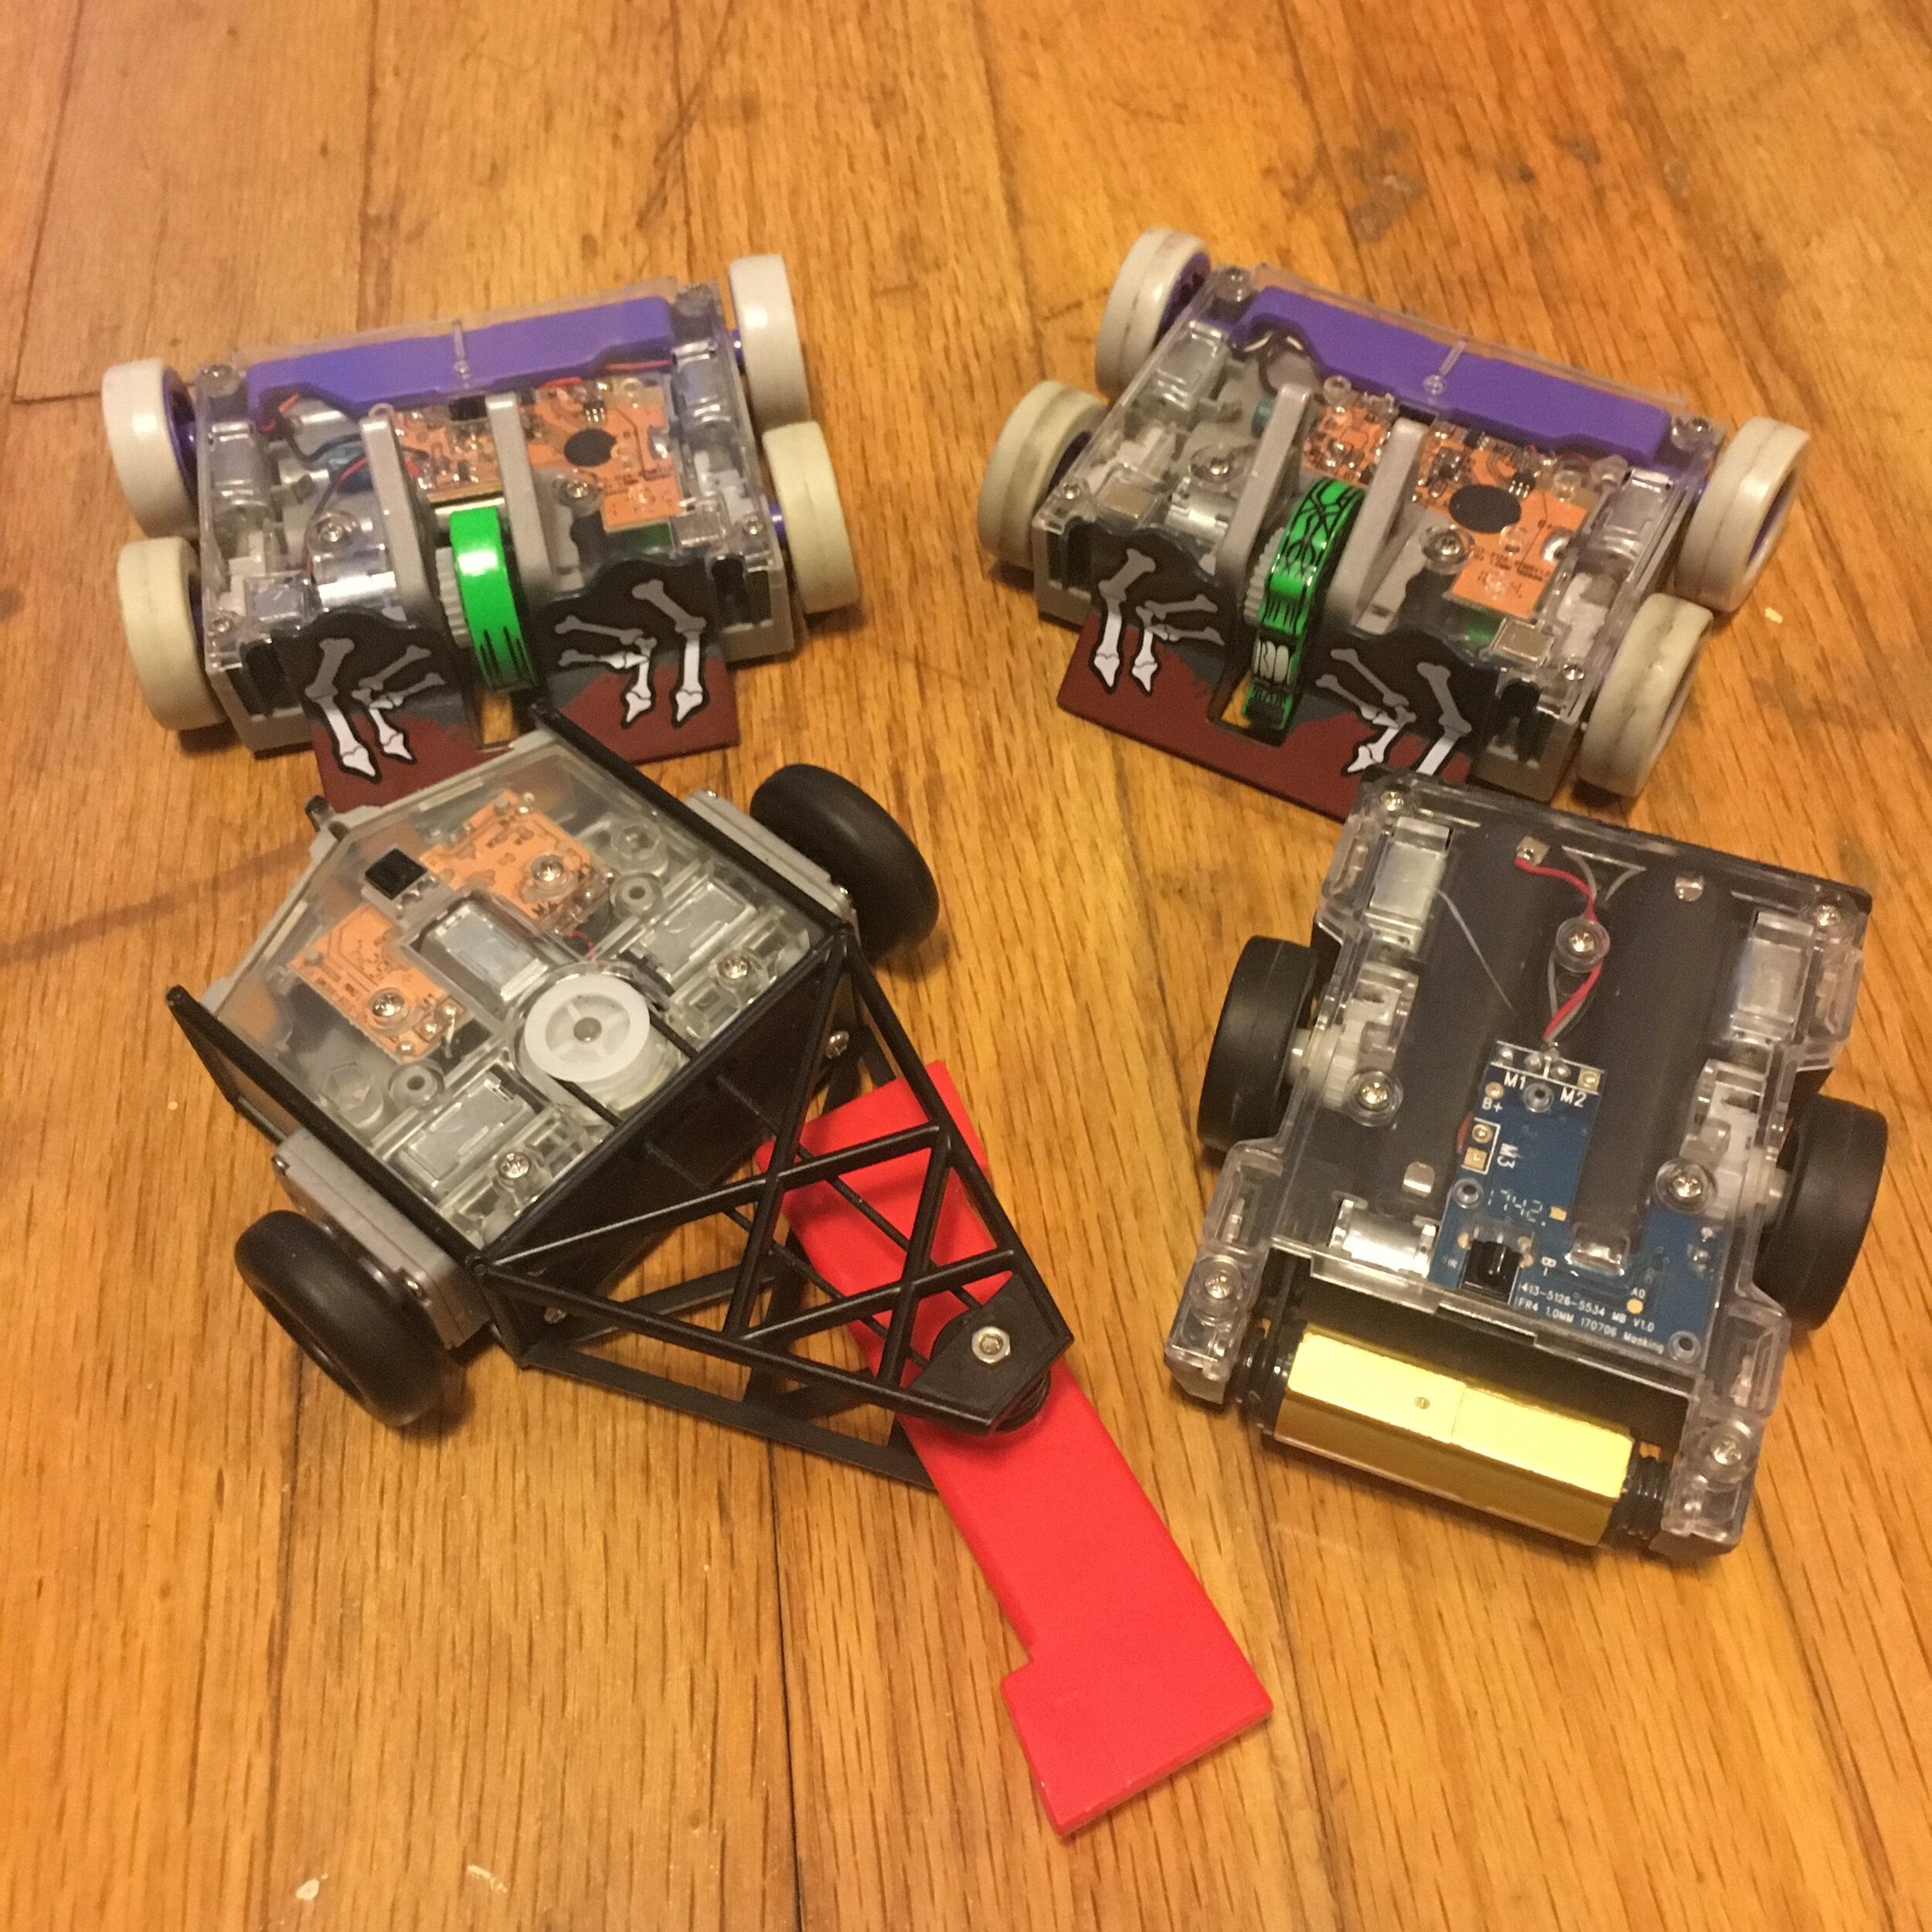
Here is the current status of the robot, with a Bite Force toy for scale. Unfortunately I don’t think I can use the current main chassis and design a good battery cover so I will have to remove all the components from the main chassis. I did however get to drive around this chassis for a bit which helped boost my morale. The next part will hopefully be a finished, functioning Uppercut toy!